(NOTE: The design components of this aircraft which depart from the original BD-5 design are unique to this aircraft and constitute the property of the owner of this aircraft. Publication of these photographs does not constitute permission to copy these designs or components. License to produce these unique components can be negotiated on a non-exclusive basis. Purchase of the aircraft includes the full rights to these modifications.)
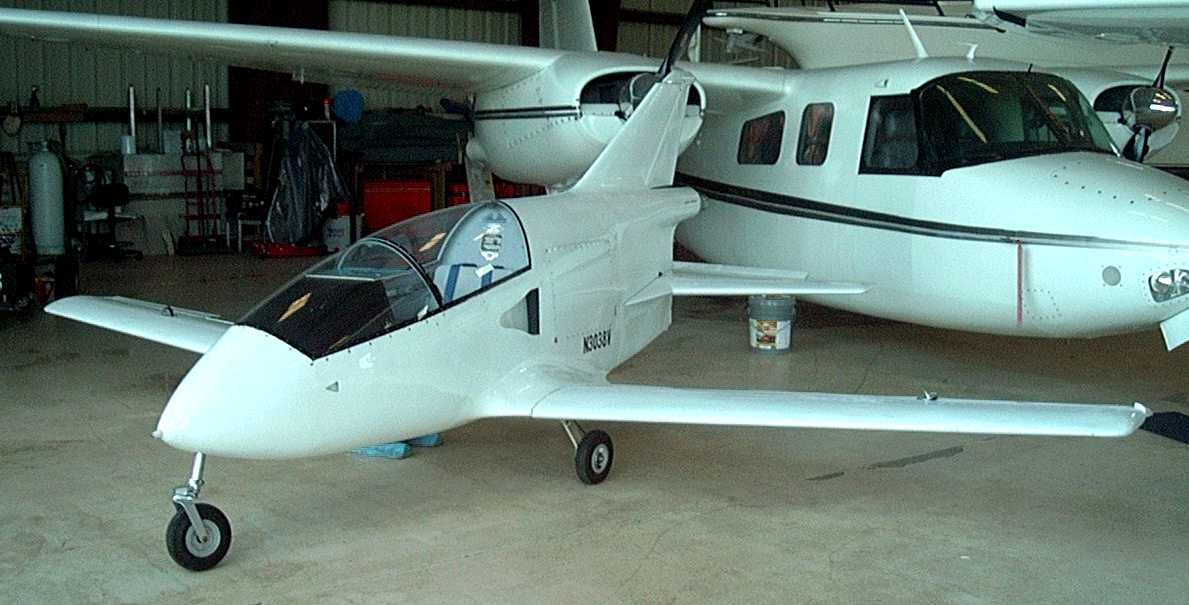
This is by far the coolest pic I have so far. Who would have thought that I would have had something like this?
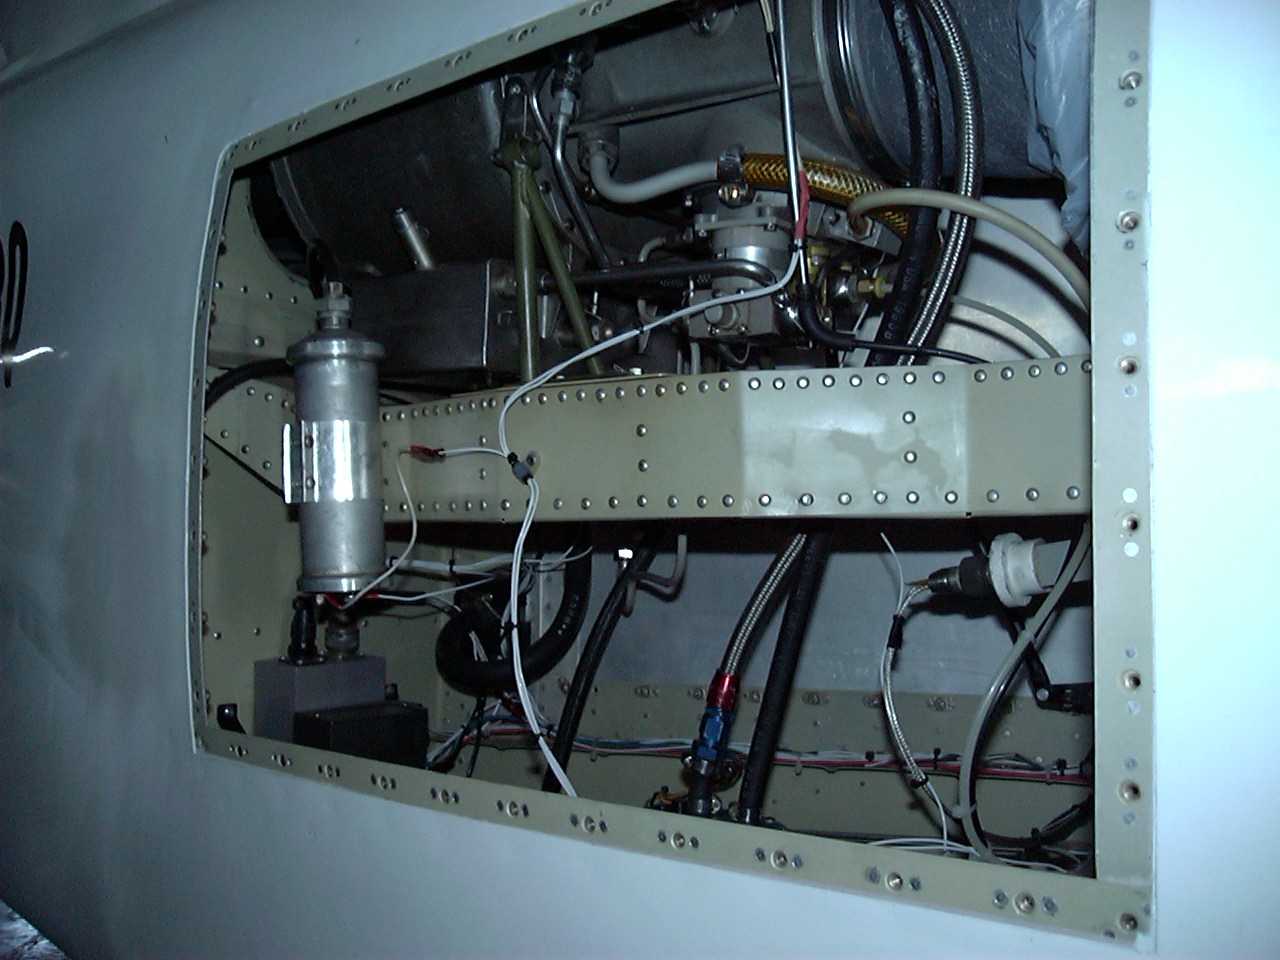
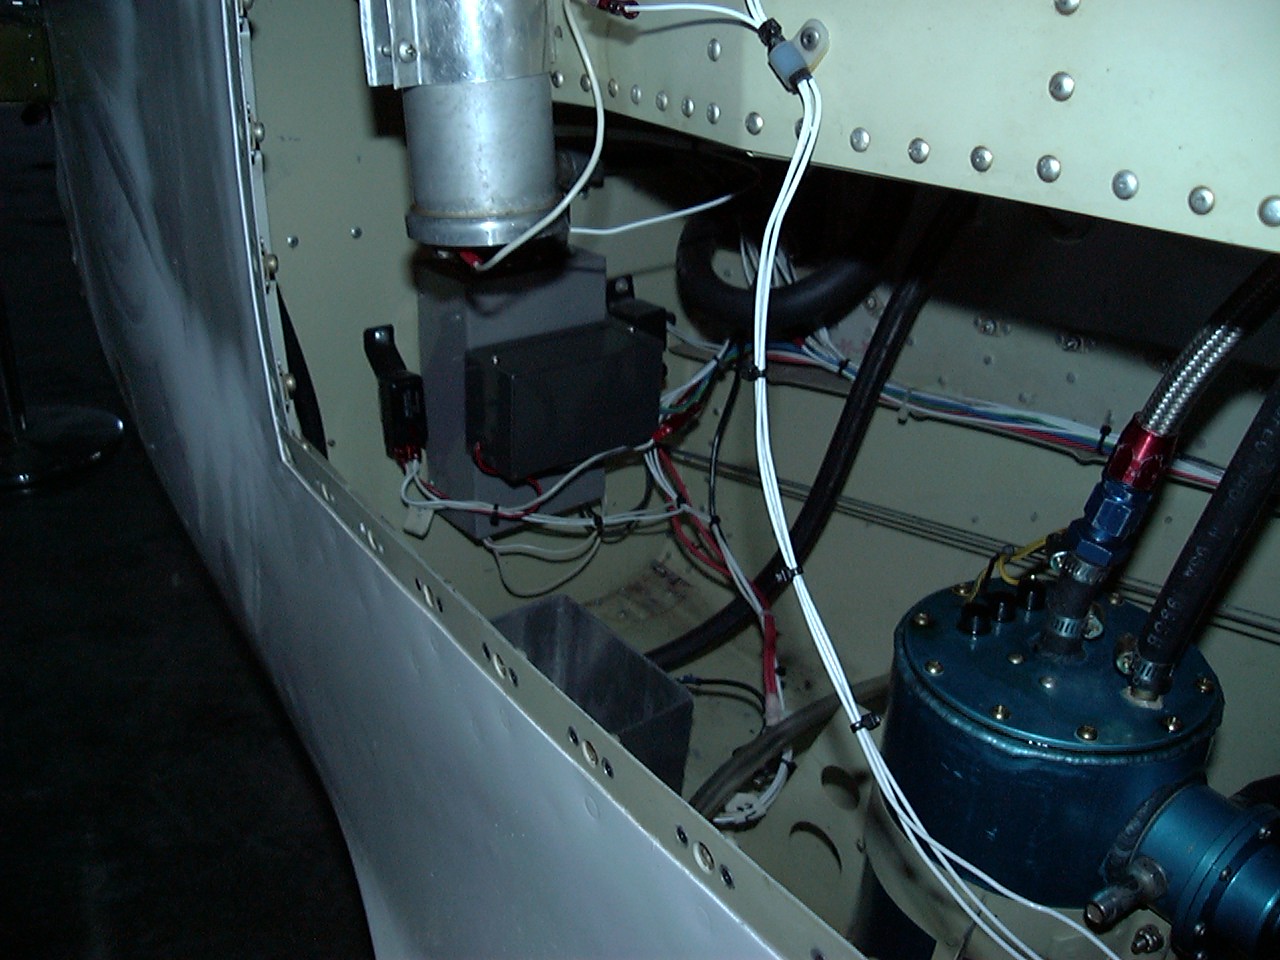
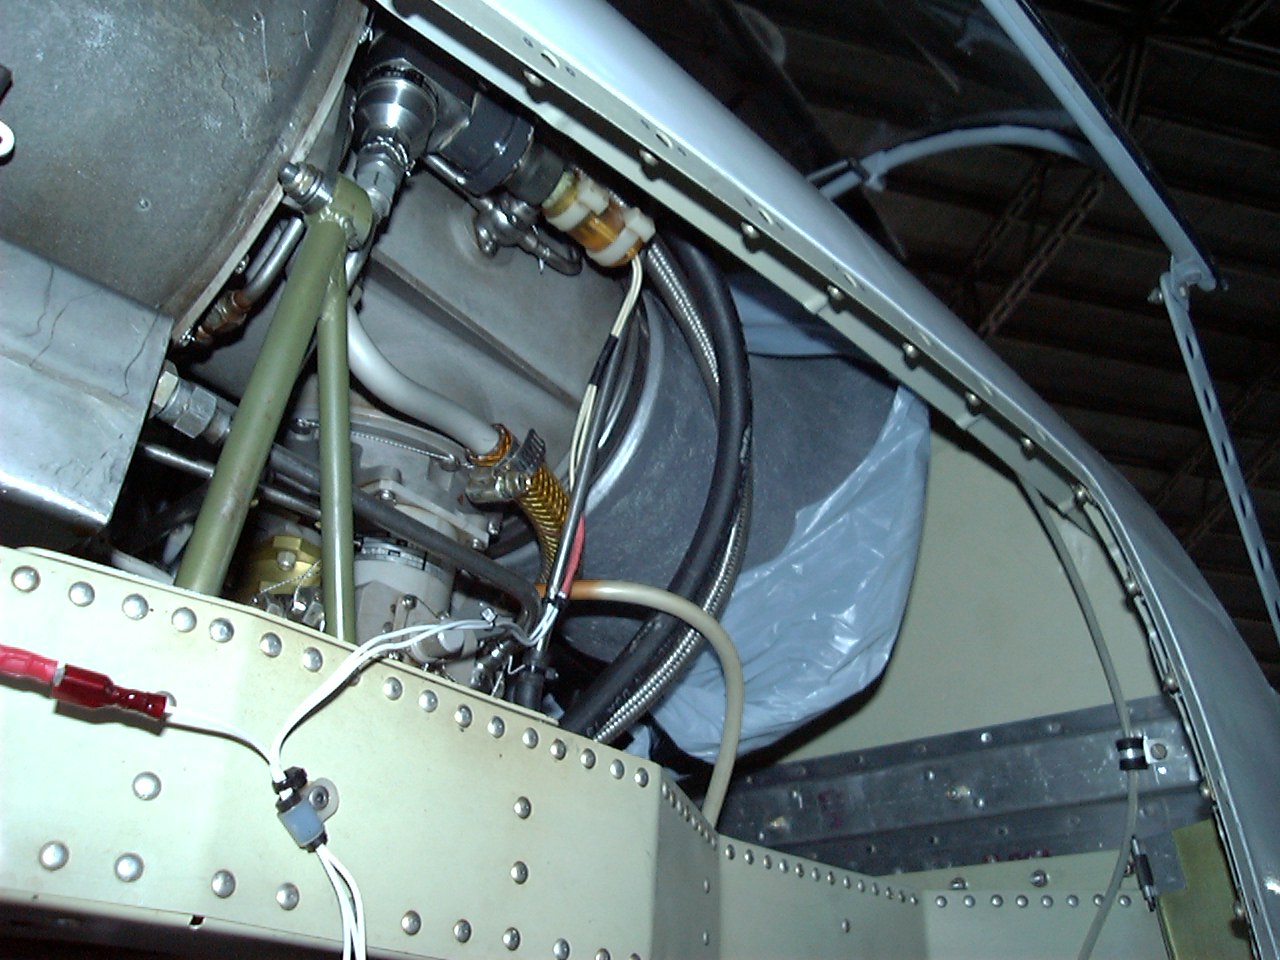
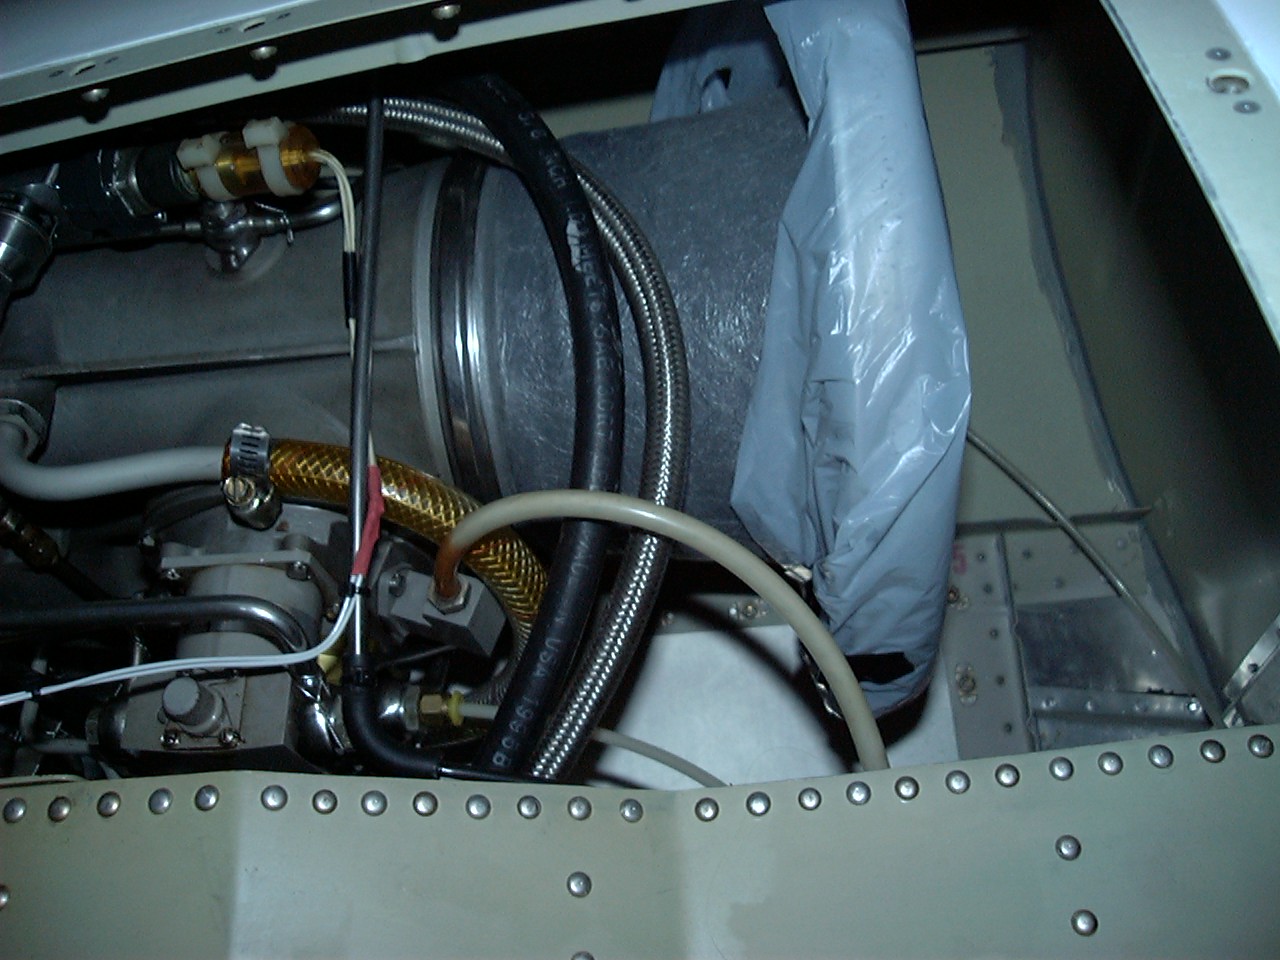
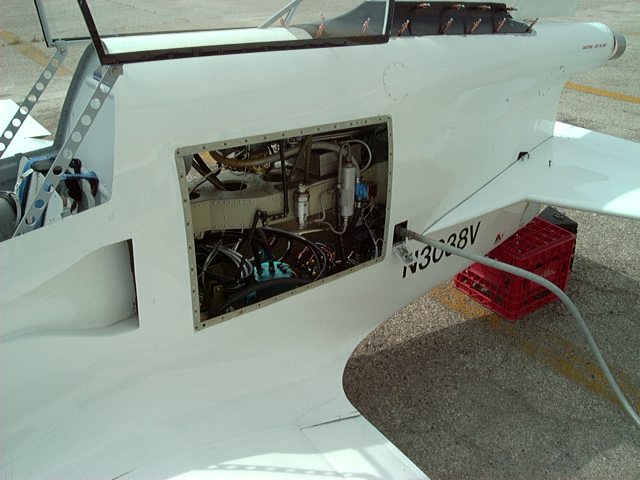
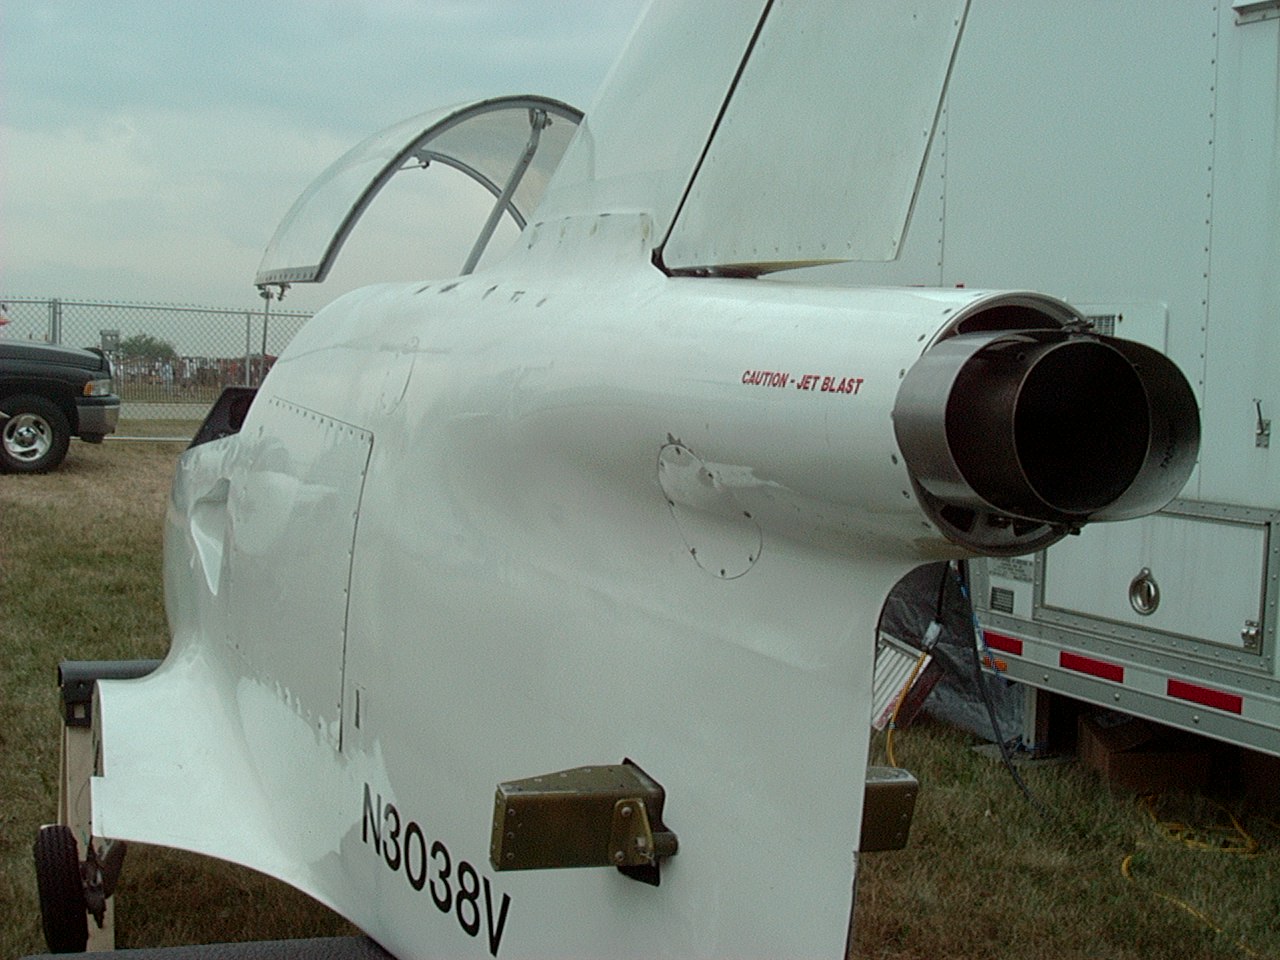
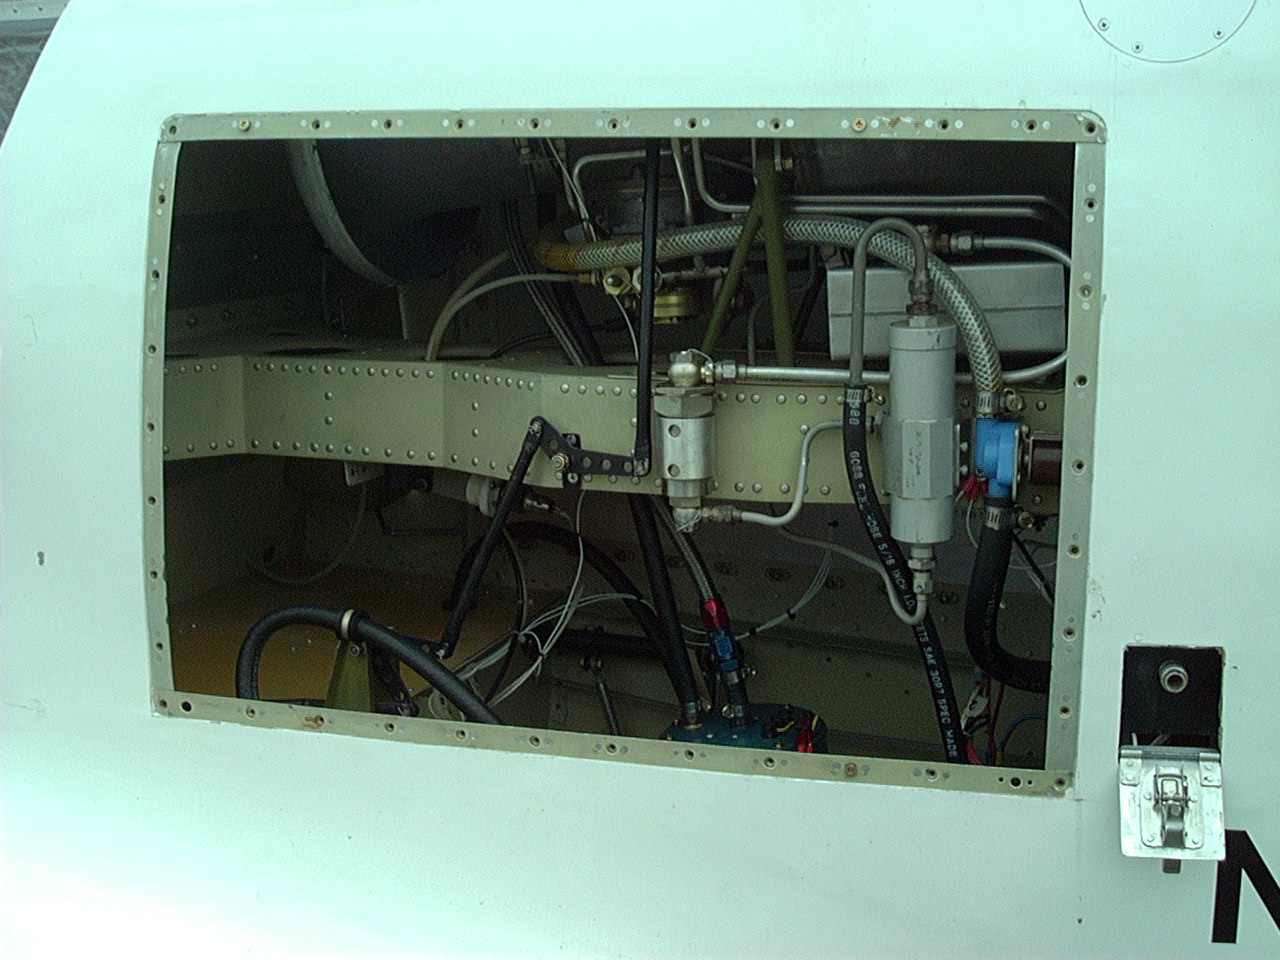
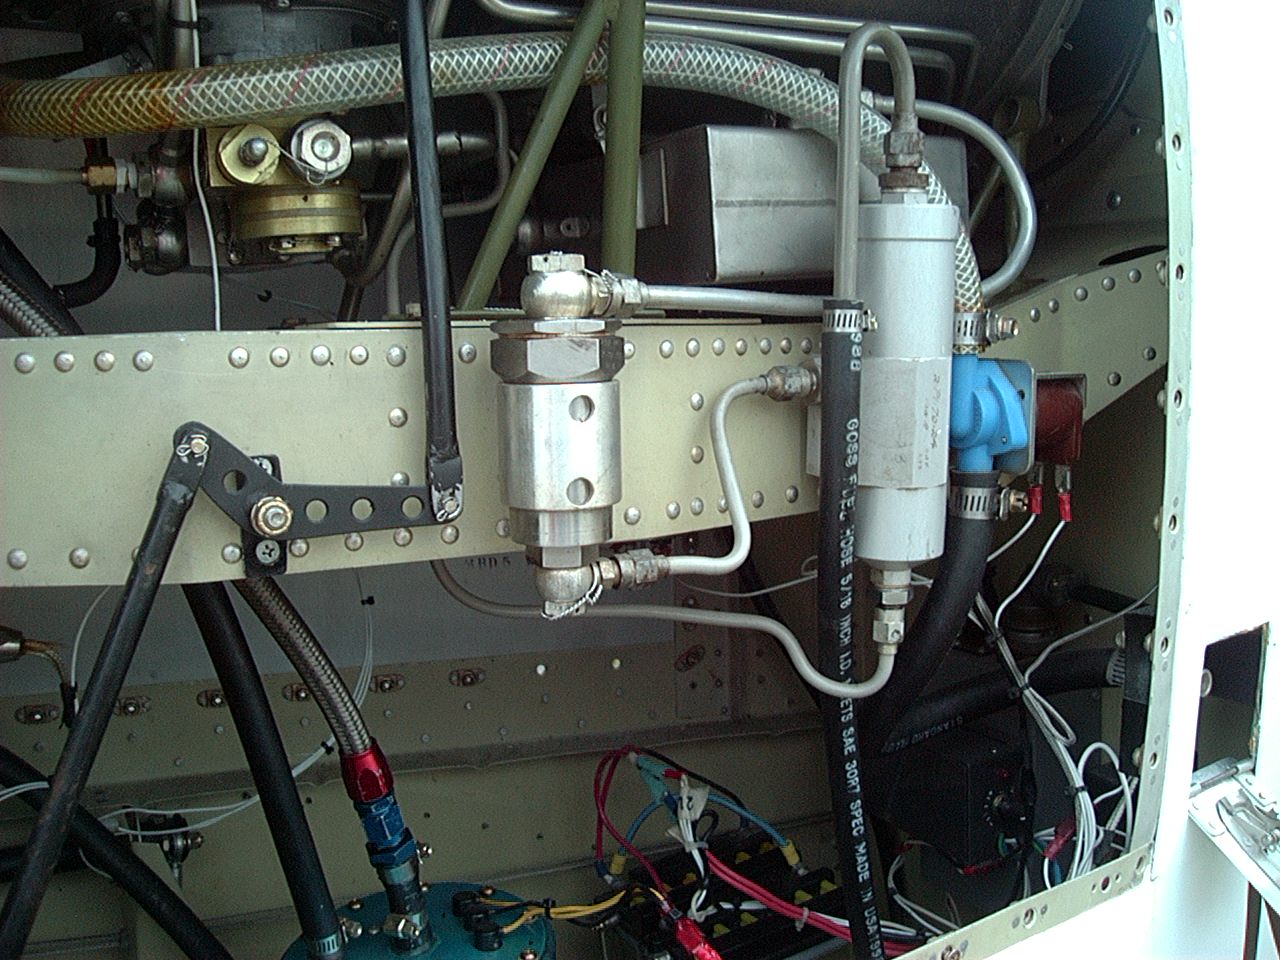
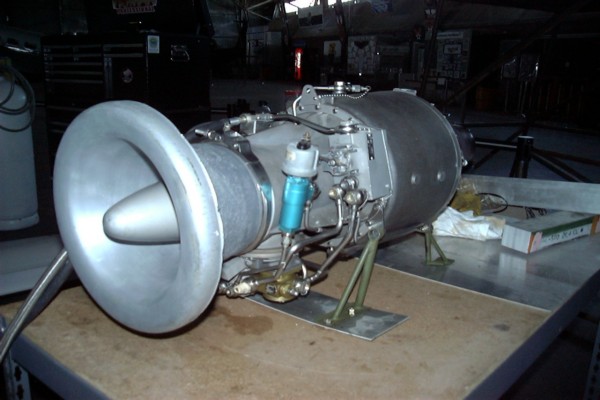
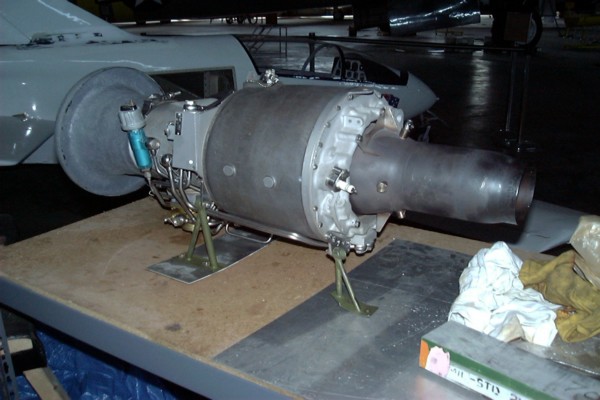
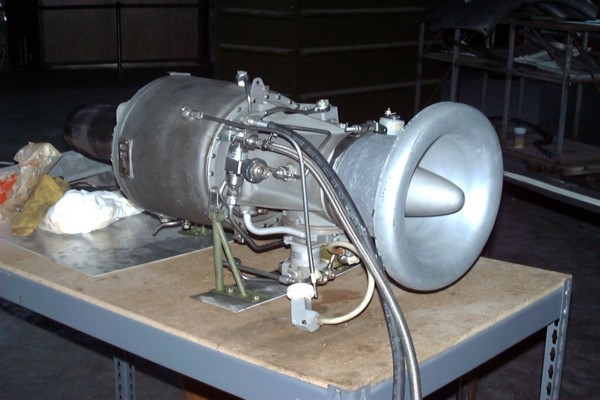
The engine mount and install work is first rate. The fuel control box (lower left) is custom-made. The engine is an 022 Cougar, basically the same as the -046 except that it doesn't have a starter/generator. This one came out of a reusable target drone that never flew and it has 10 hours total time, all ground test time. The plastic is just there to cover the intake and protect from dust.
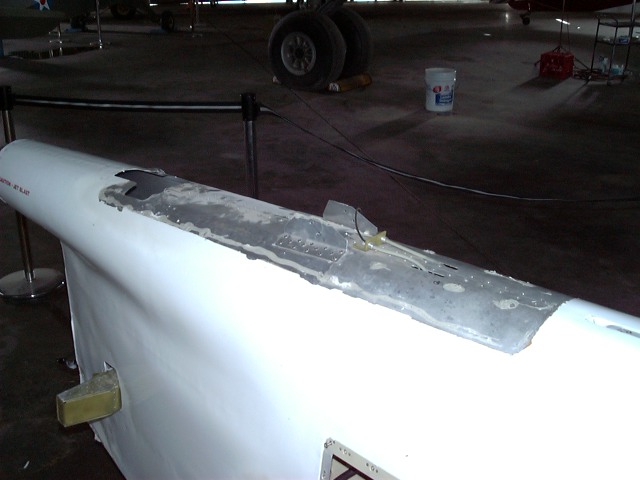
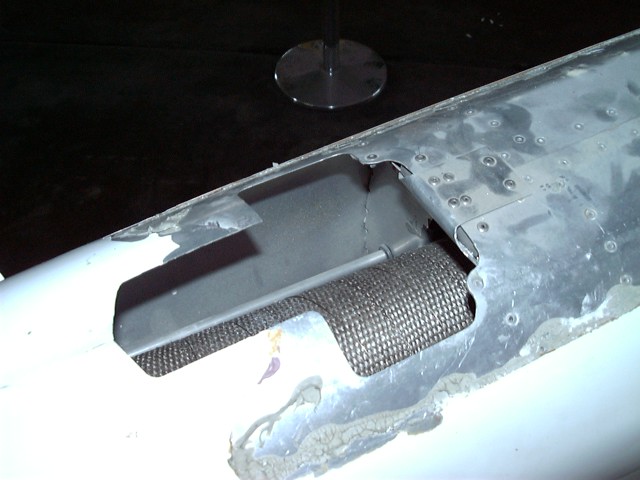
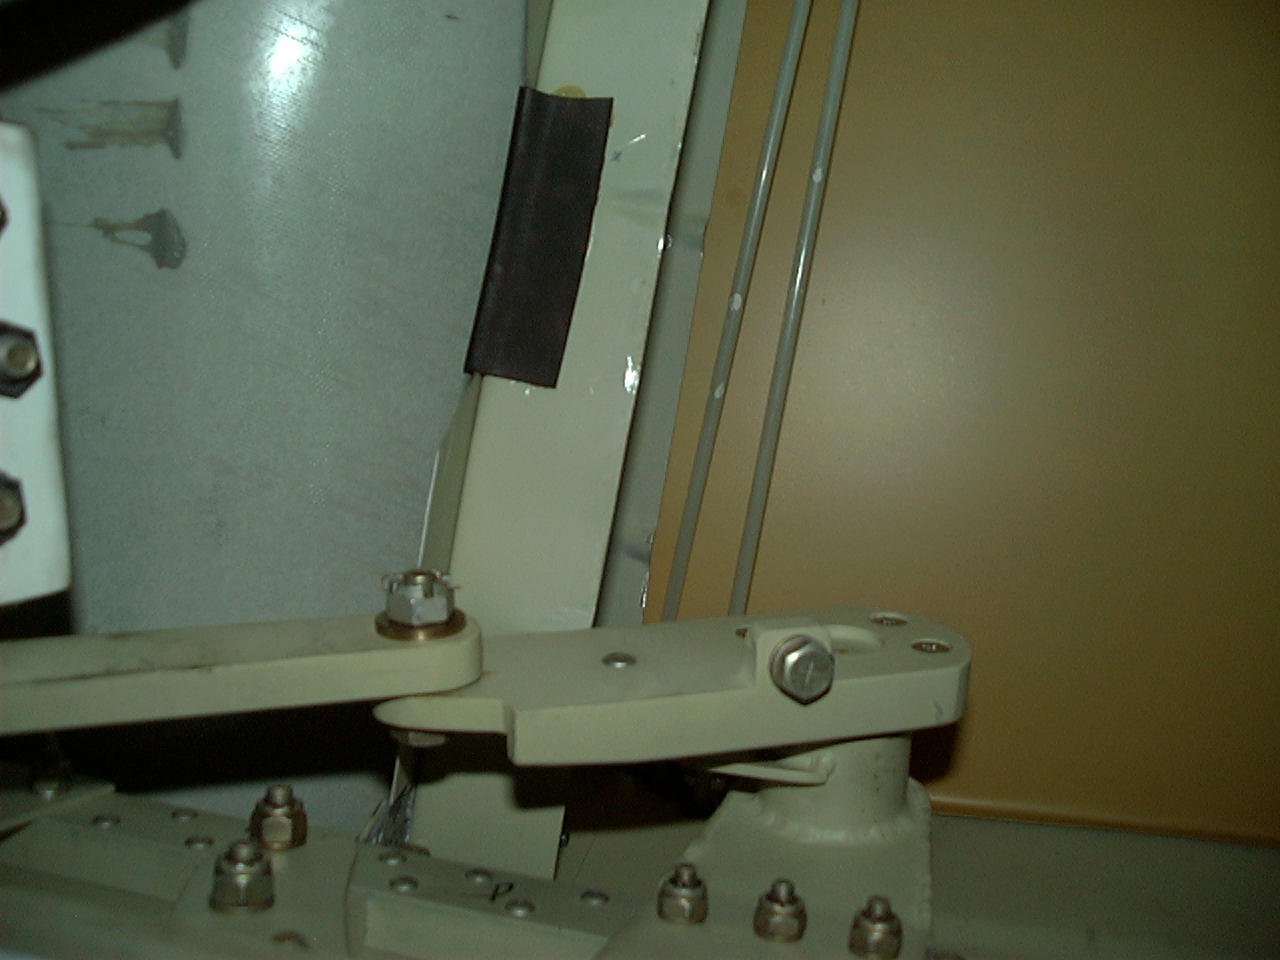
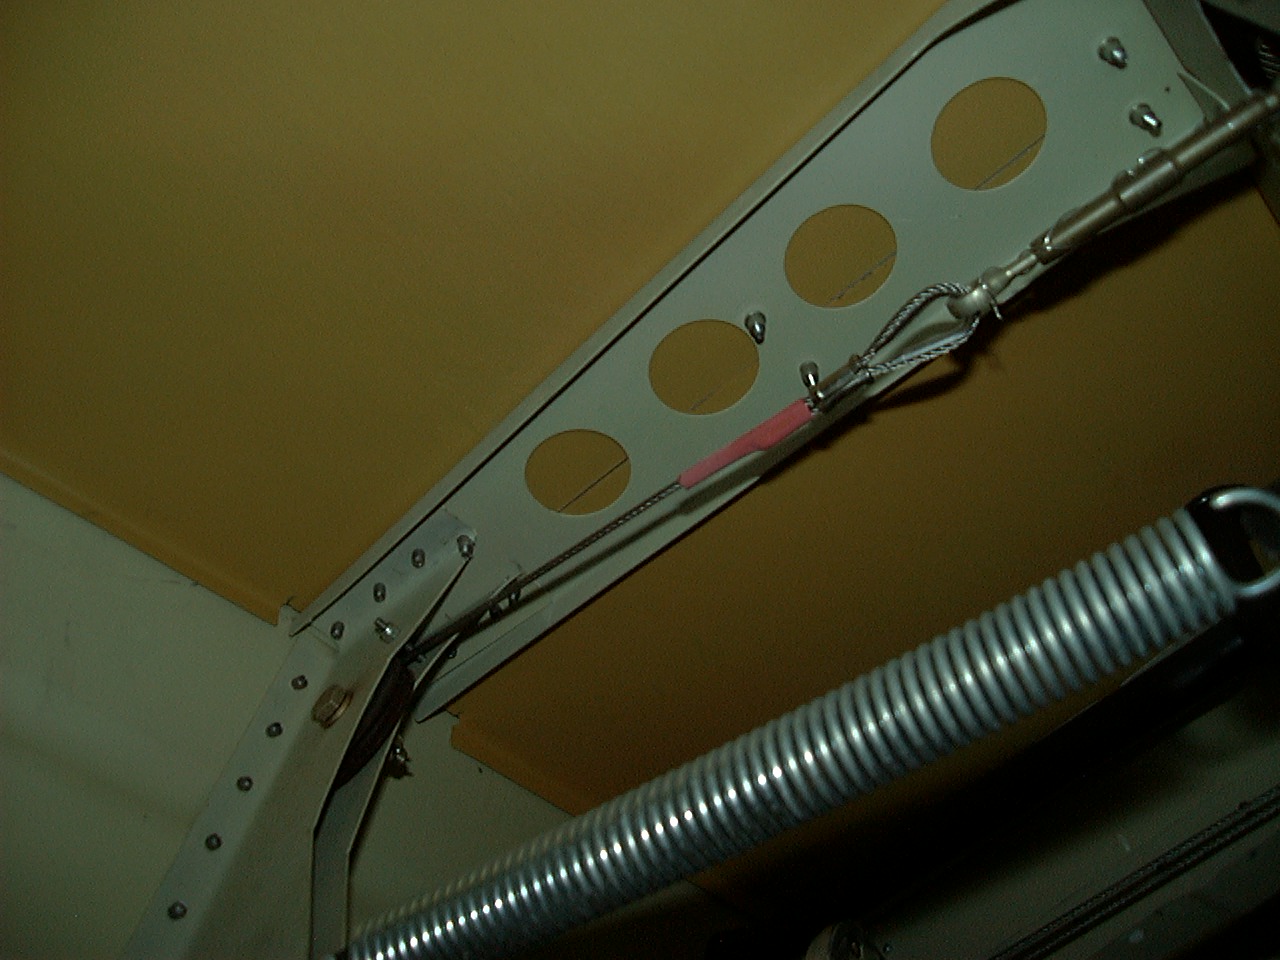
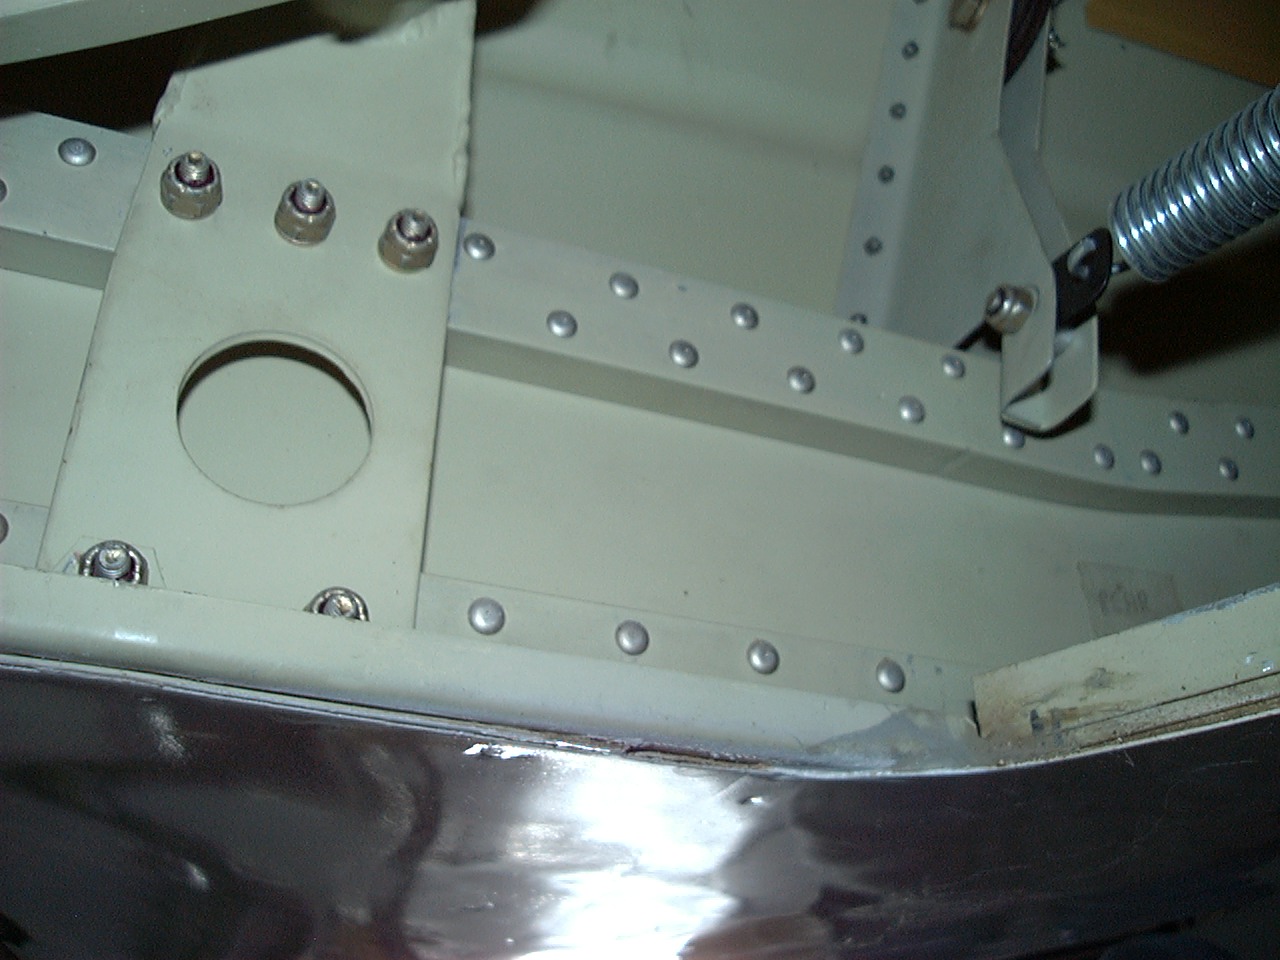
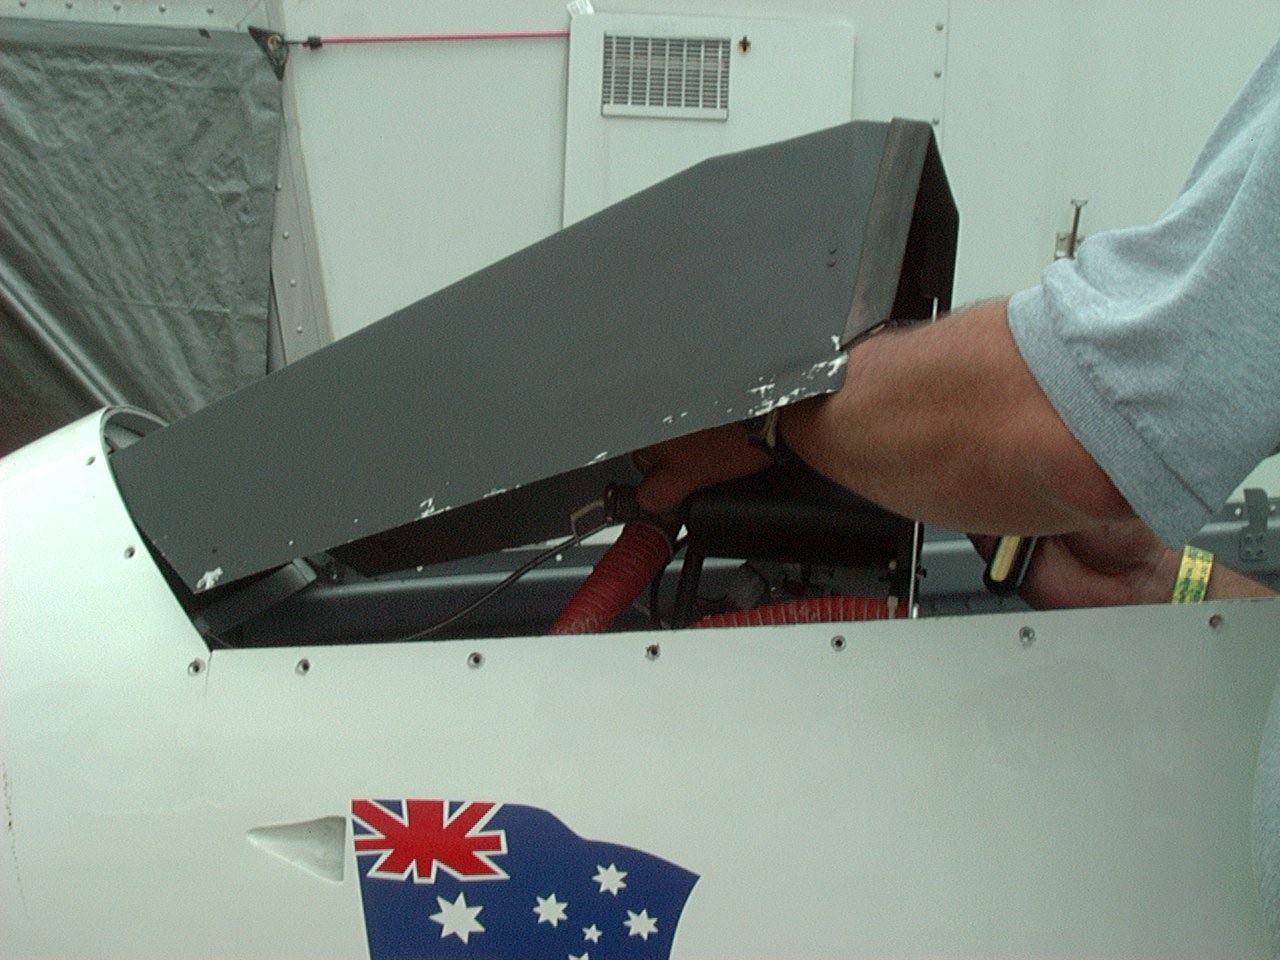
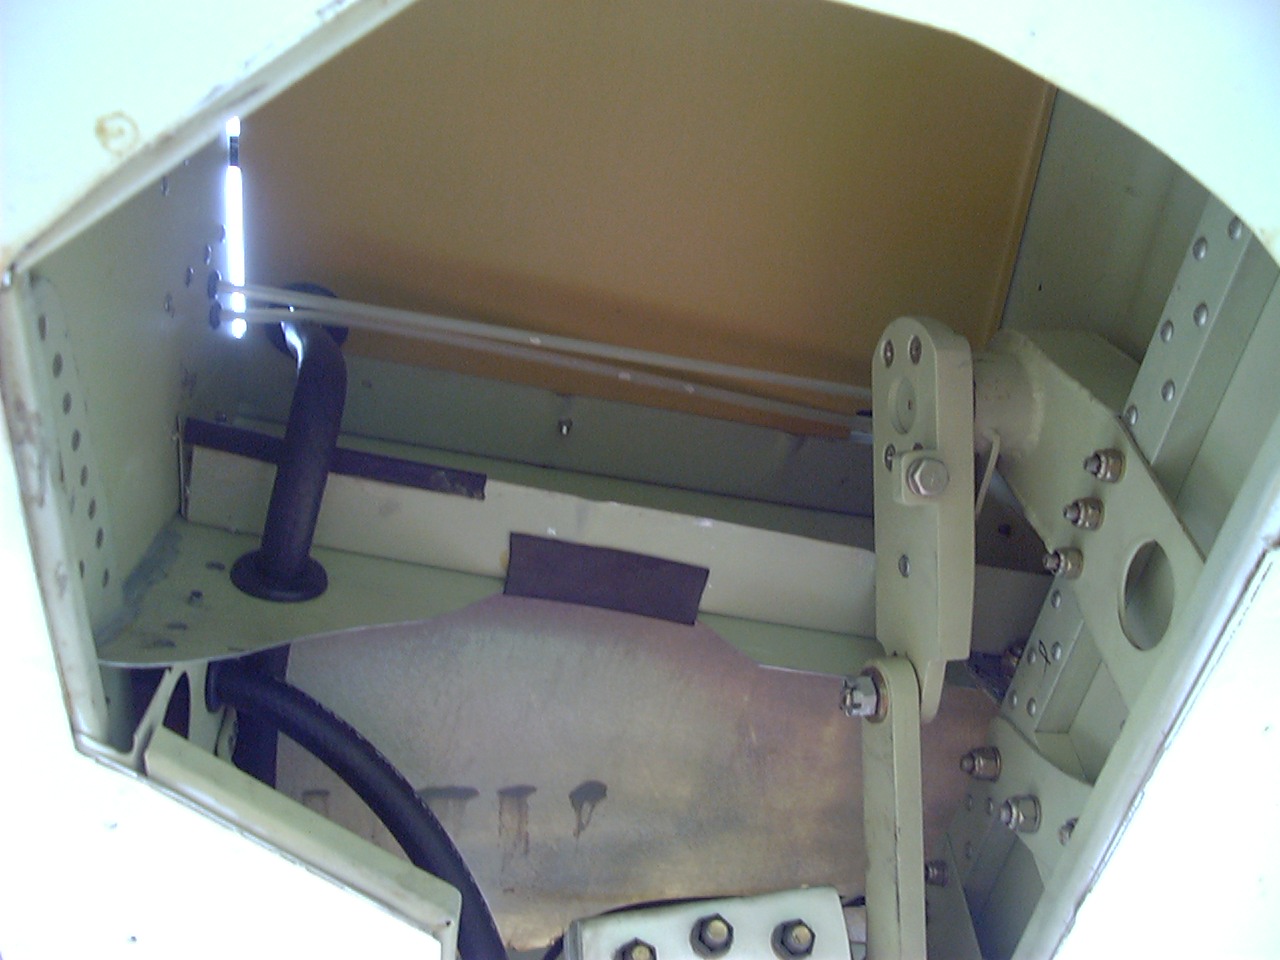
This and the next two images show the vertical stab mount area after the original VS and rudder were removed for replacement of the rudder.
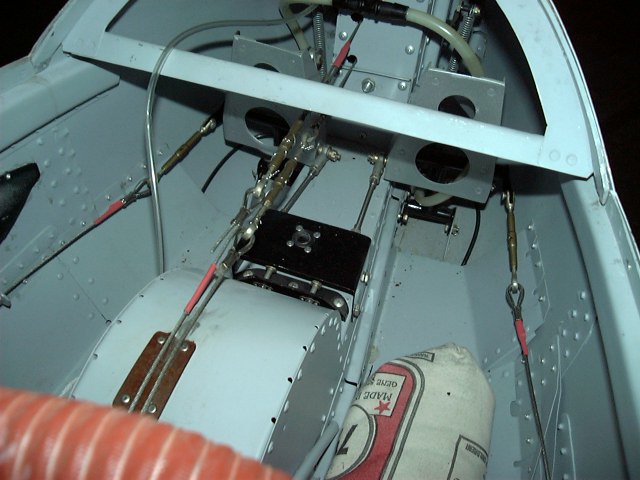
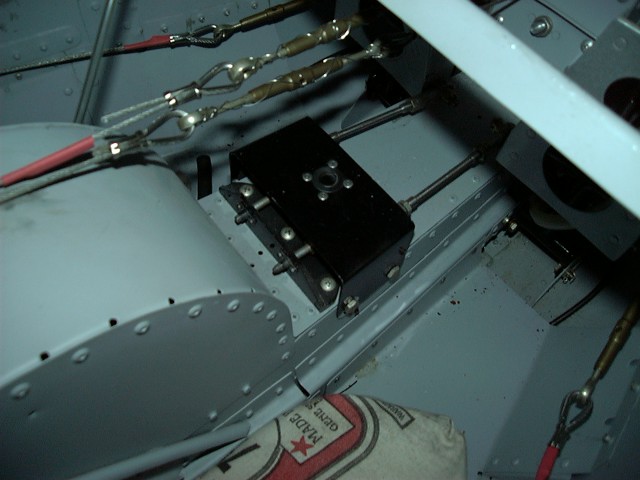
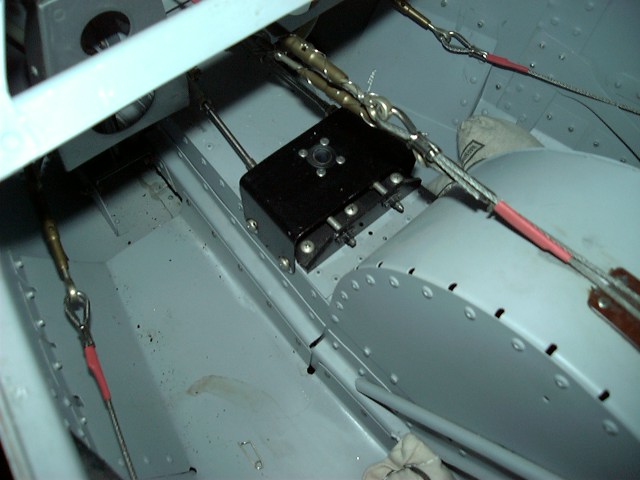
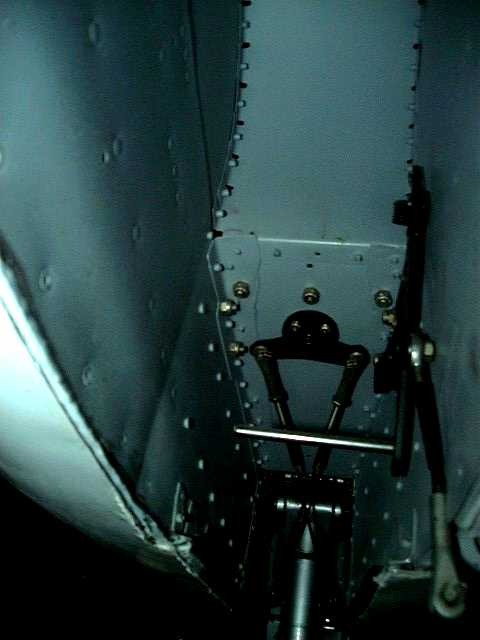
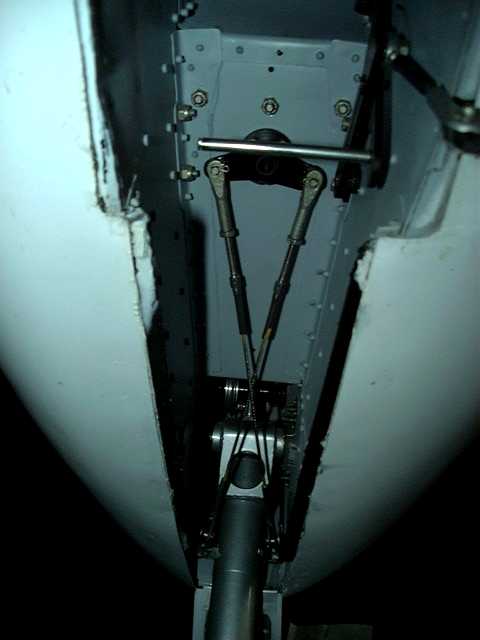
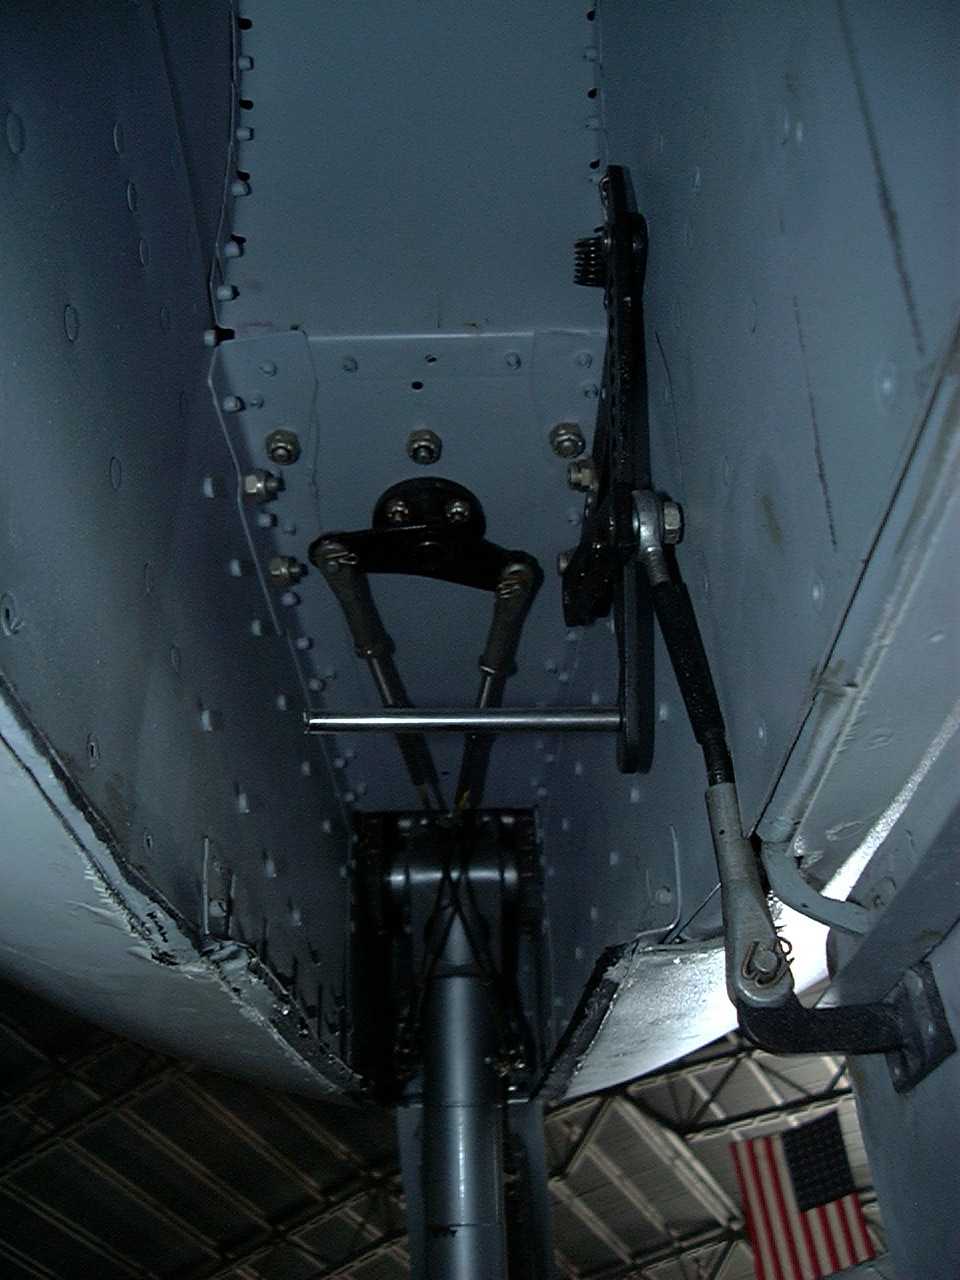
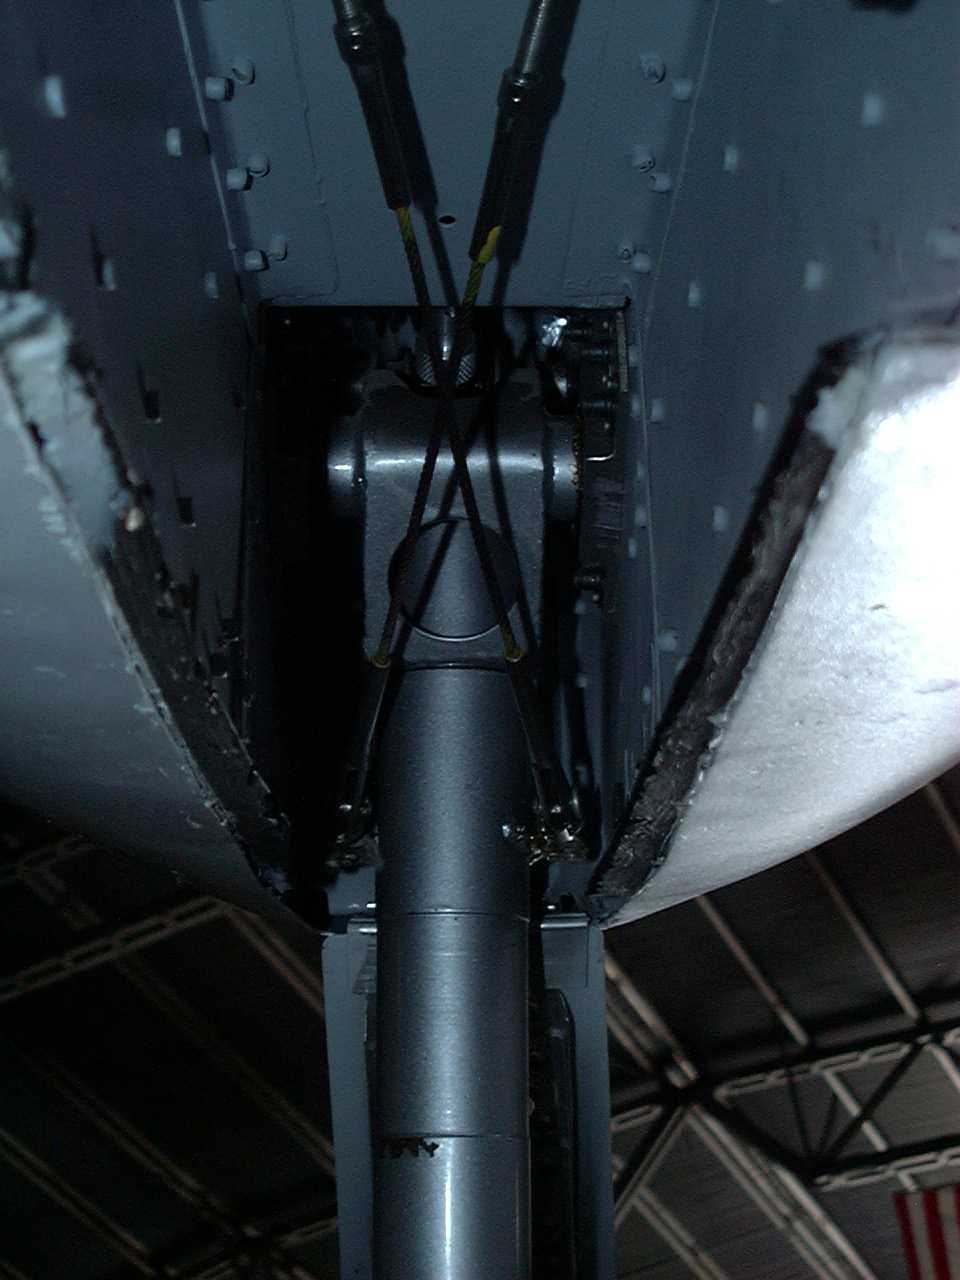
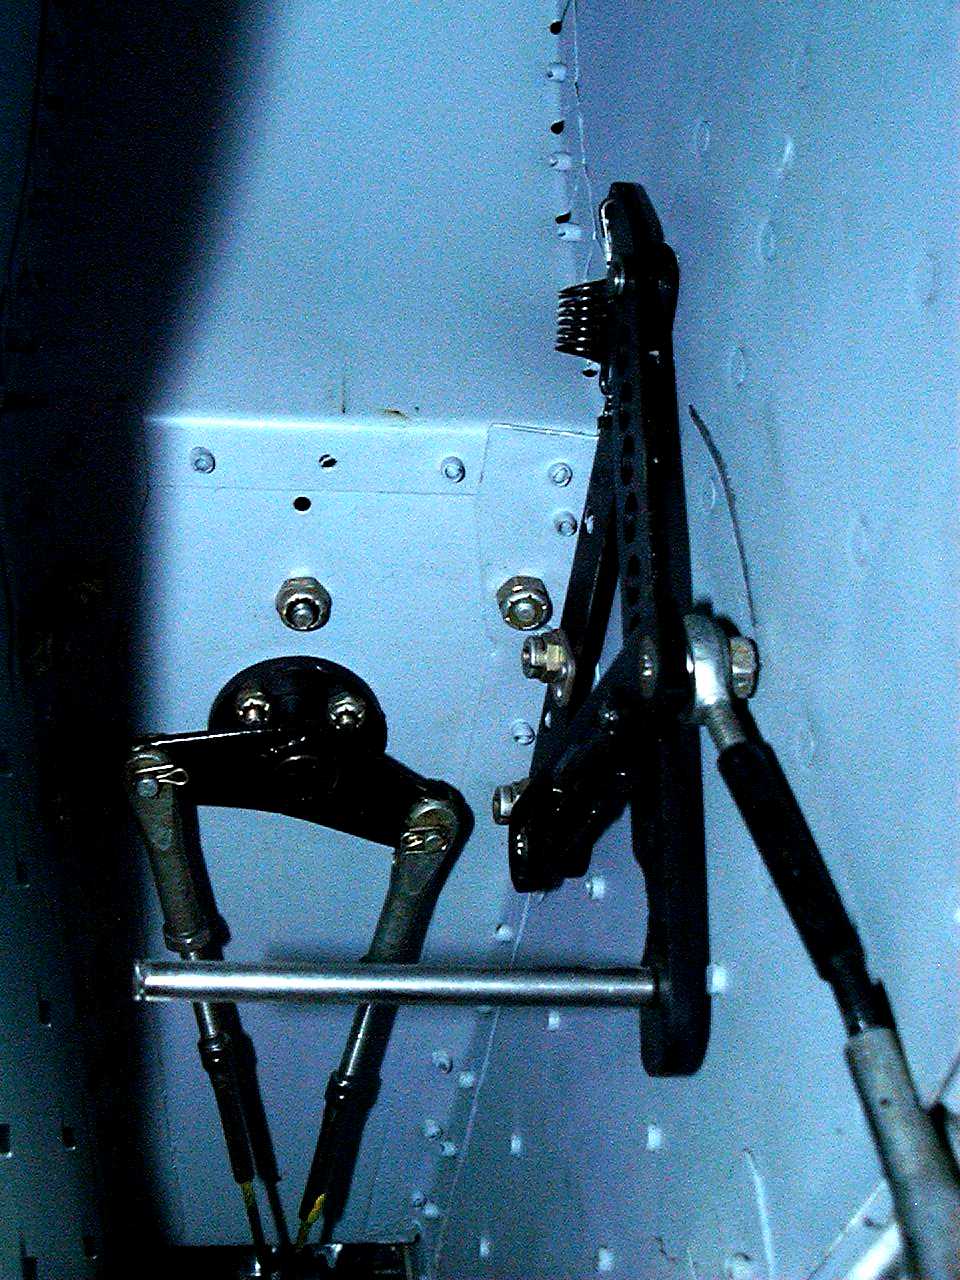
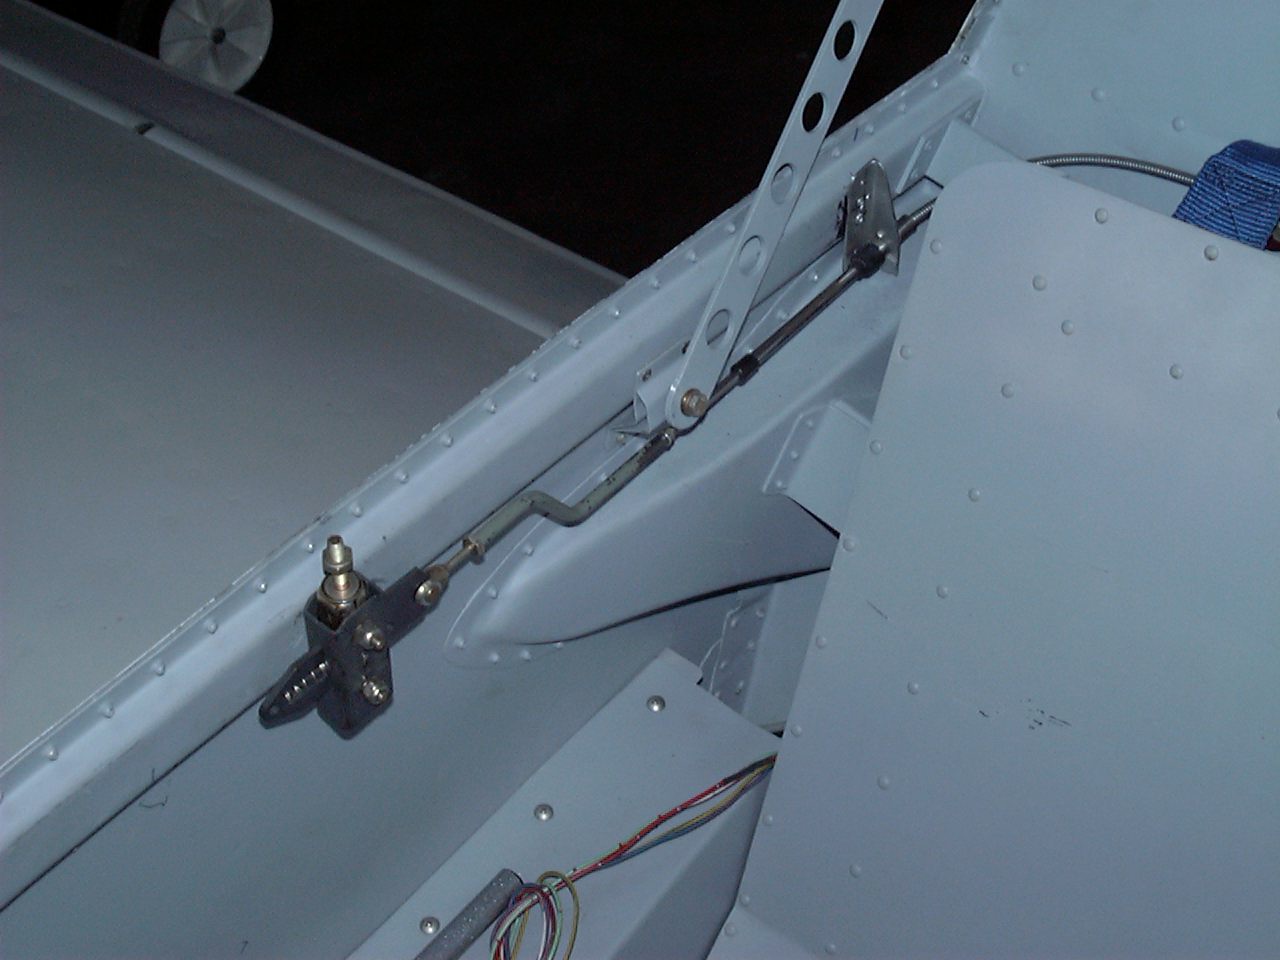
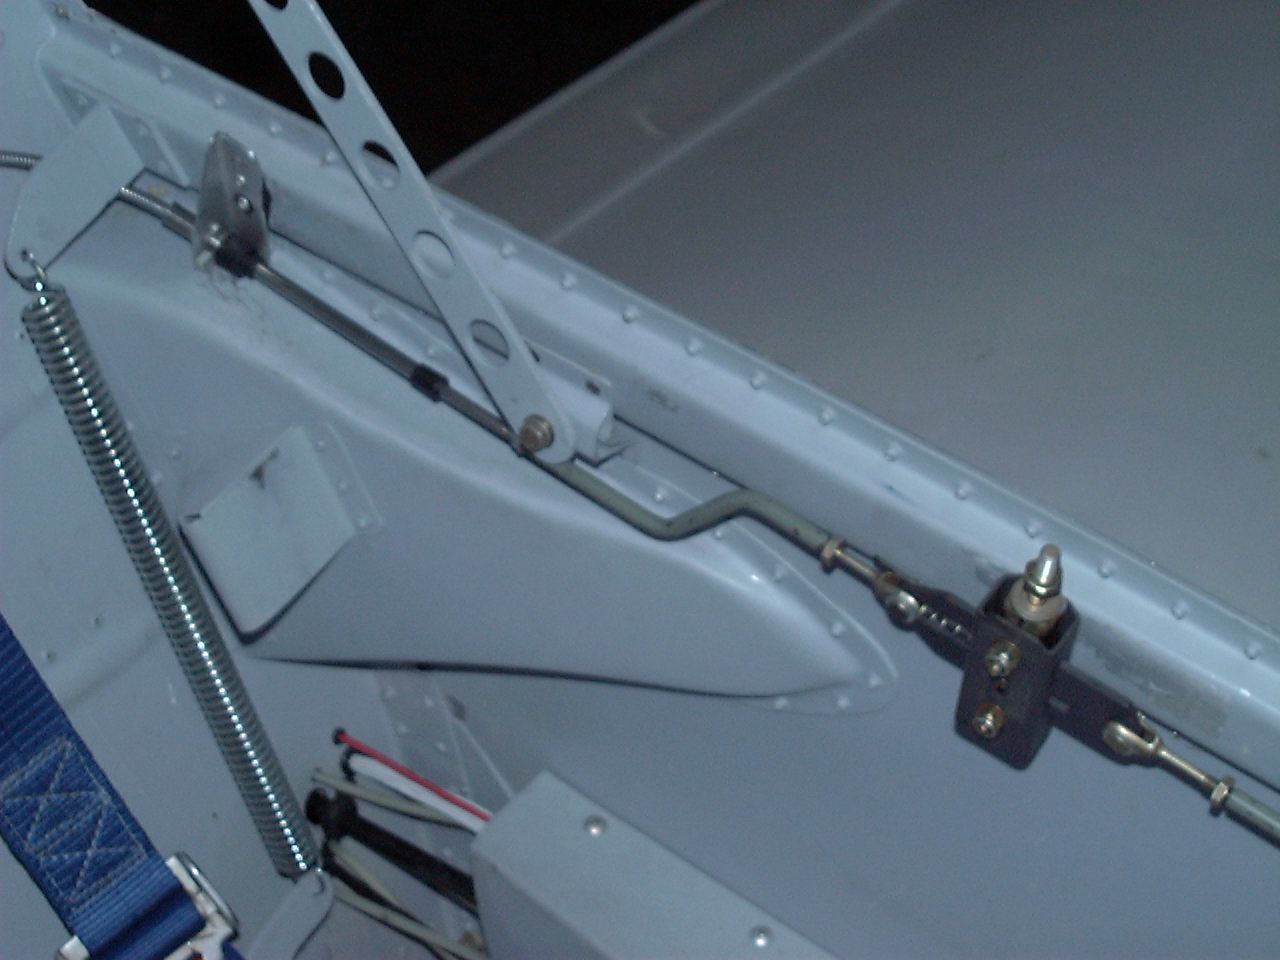
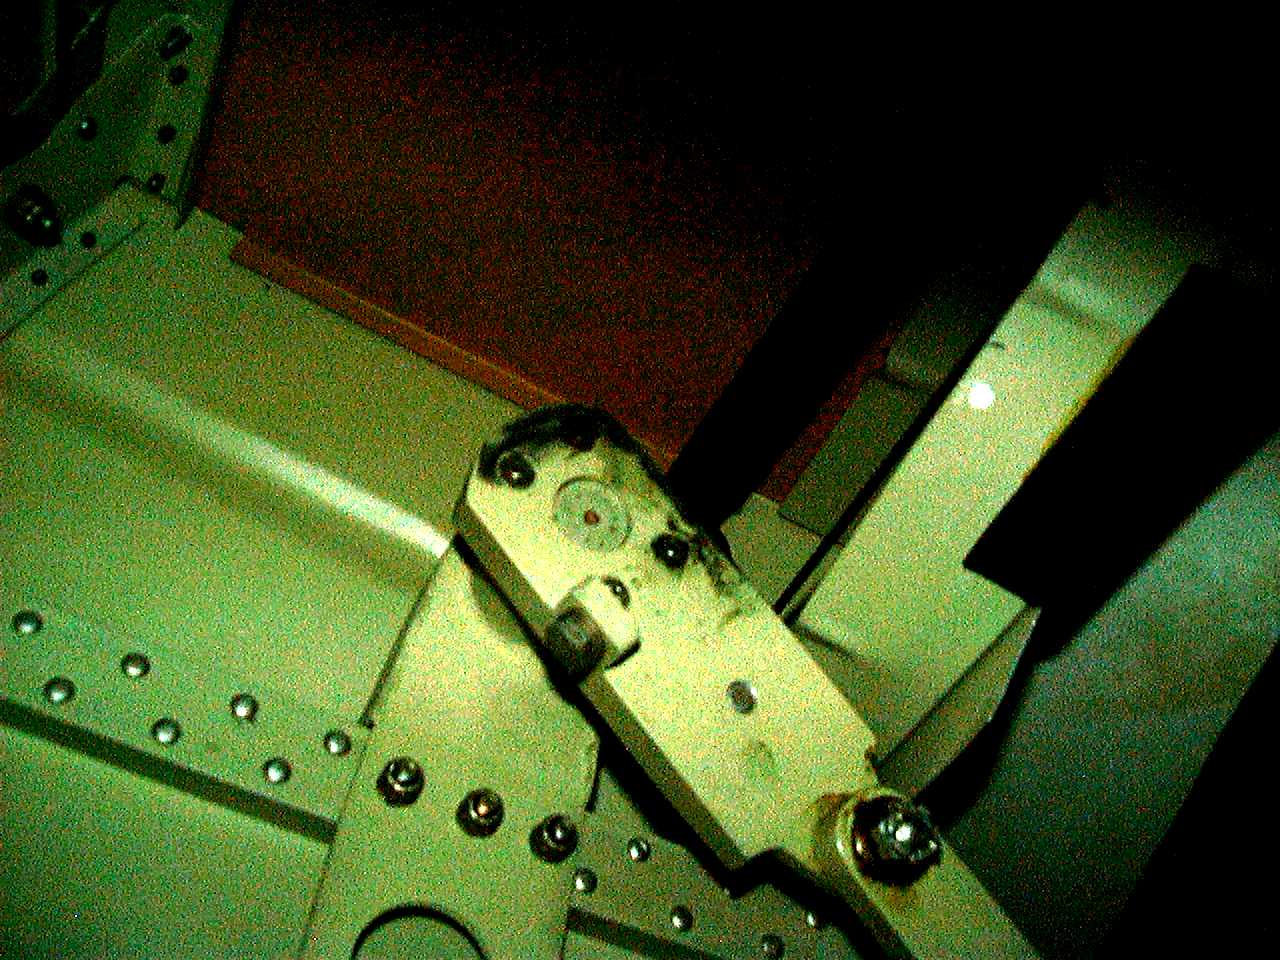
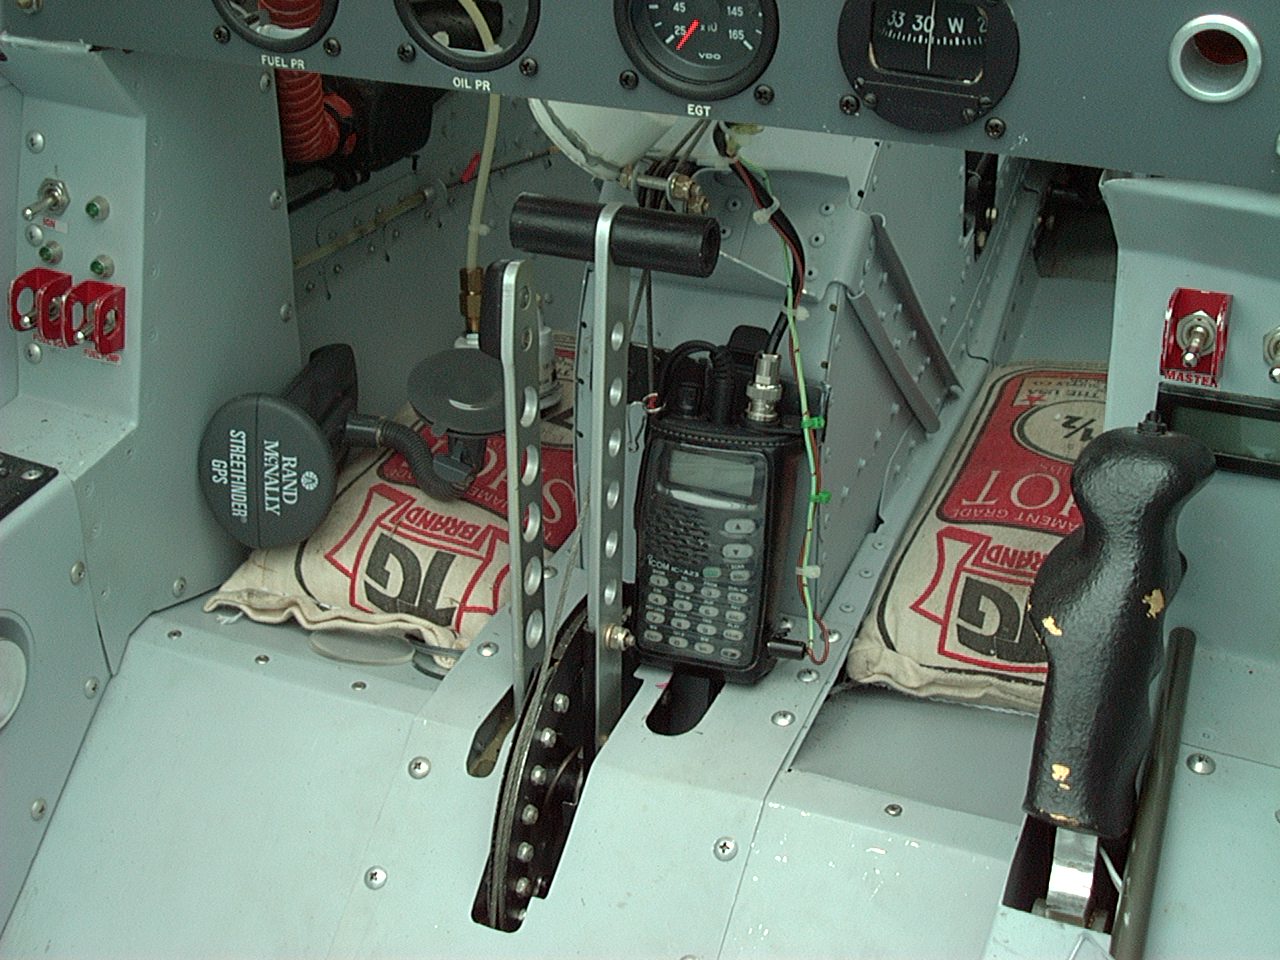
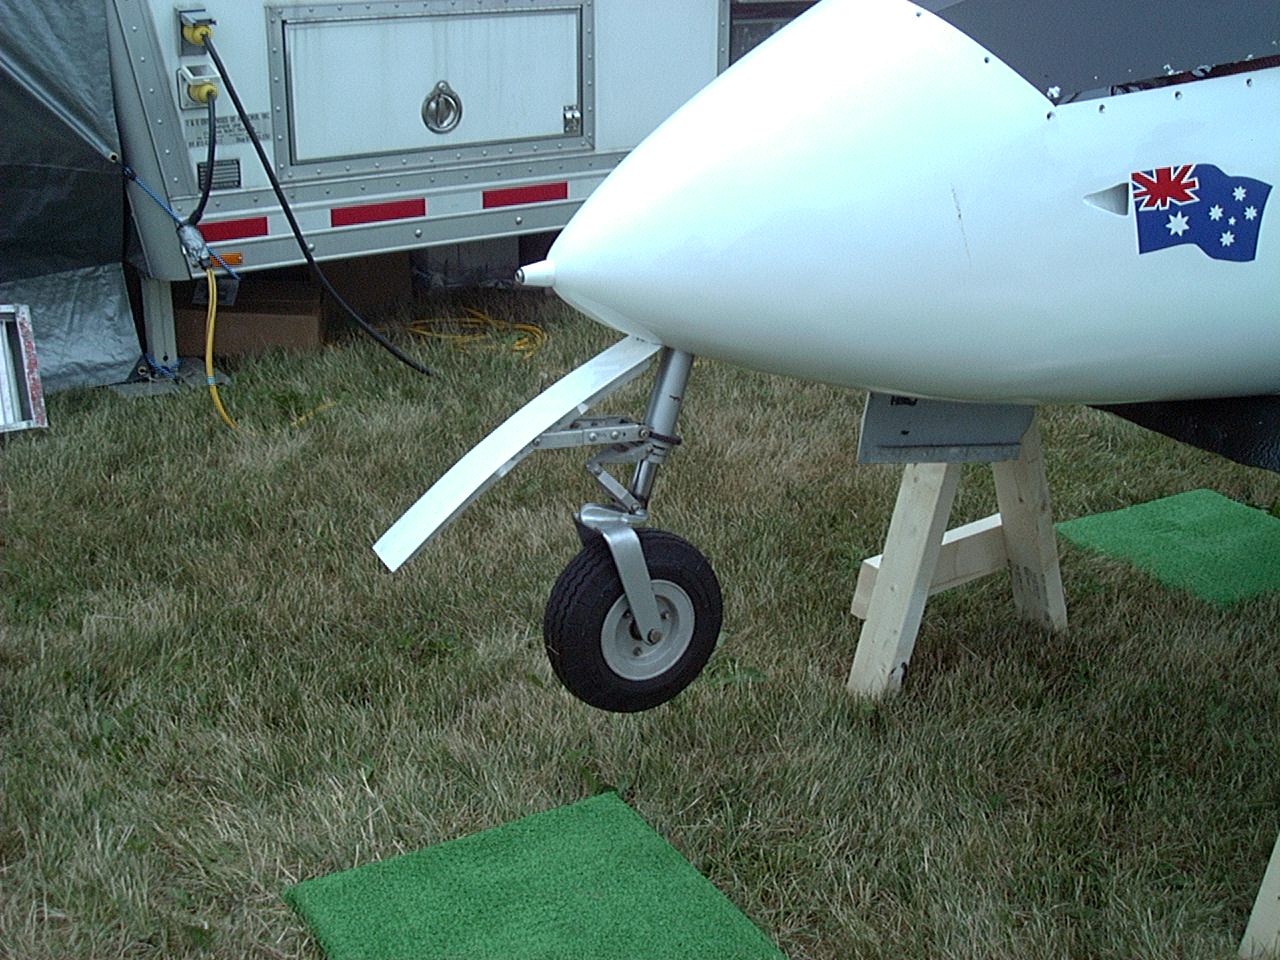
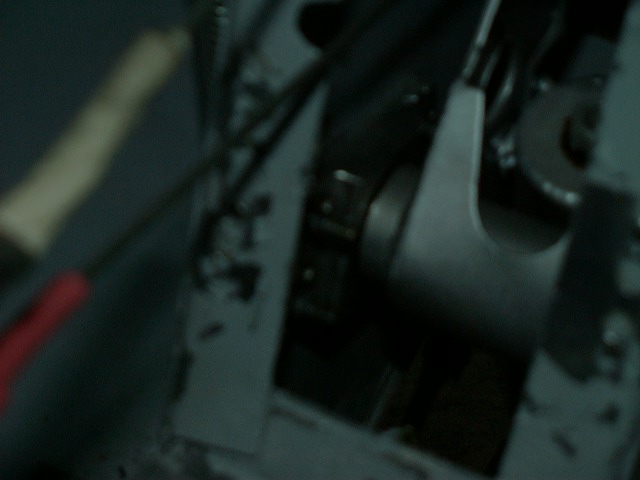
These pictures show the nosegear steering mechanism inside the cockpit, as well as the nosewheel steering links to the custom nosegear strut.
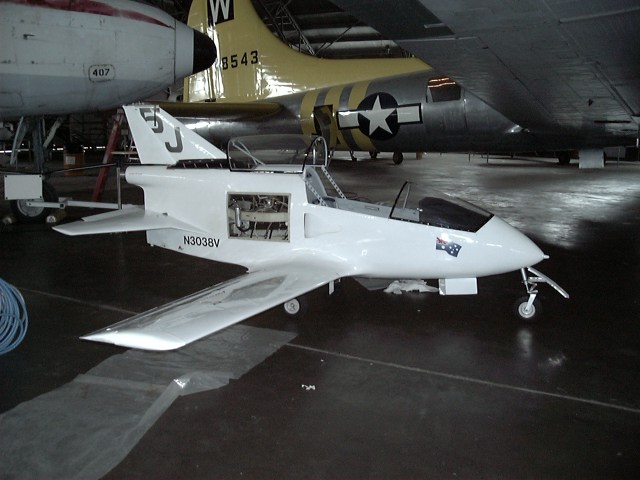

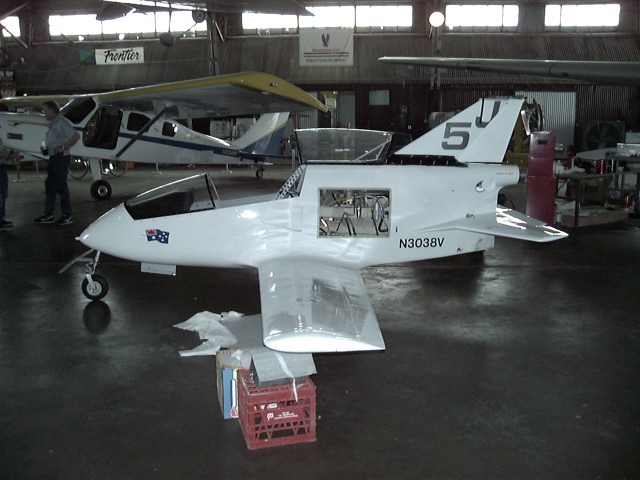
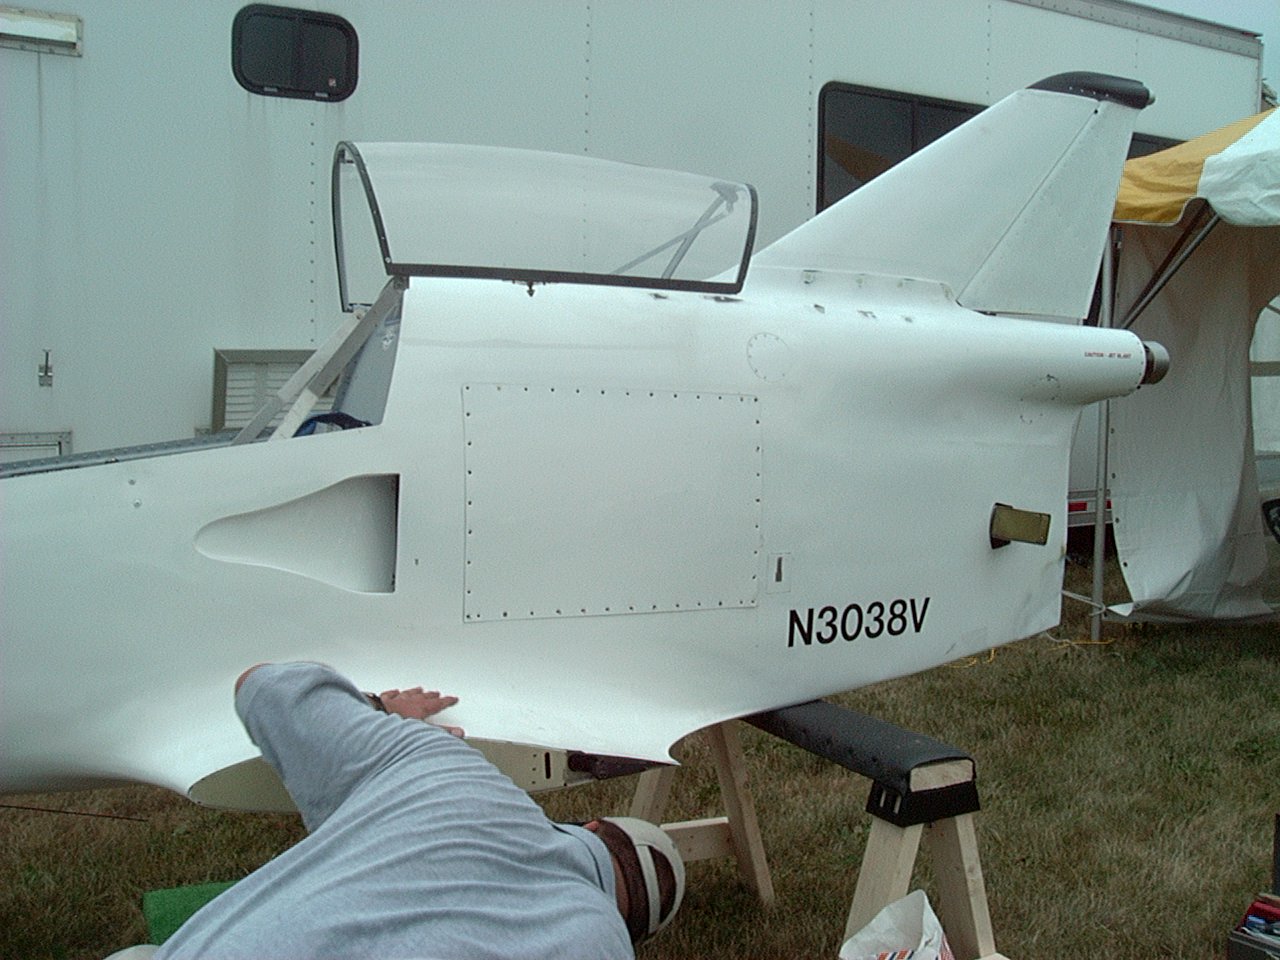
Looks a little better now, doesn't it? Wings and horizontal stabs attached, new rudder fitted and installed.
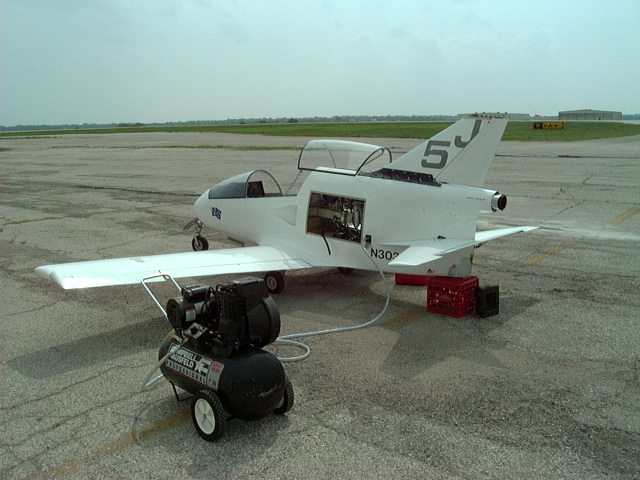
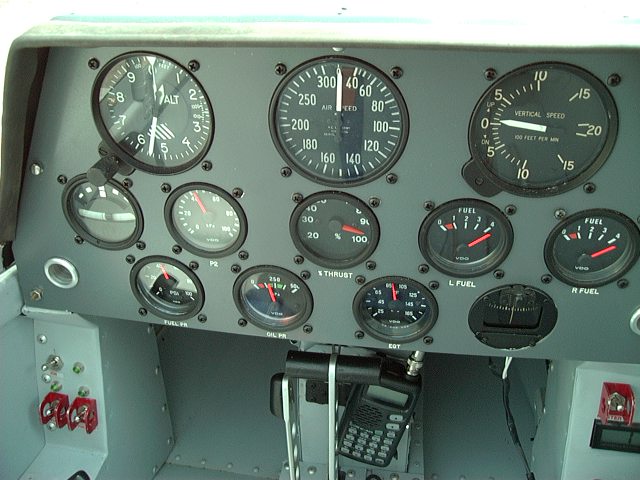
This is the first setup we tried to use to test the engine air start procedure. The 25 gal capacity of the compressor did not provide nearly enough volume, so we had to put it off for a day while we found a suitable secondary container. We went to a local LPG cooking gas supplier and bought a 100# tank that they could no longer use, but which served our purposes perfectly. I removed the standard LPG fittings and installed custom fittings with manual valves for input and output. The compressor charges the tank, and then I use both, in series, to provide air to the engine. Of course, the tank was vented overnight to remove all traces of the propane tank, even though it was also purged at the refilling station. The engine instrumentation shows that we've solved the issues and got a succesful start. We have good oil and fuel pressure, good EGT, etc. The fuel tank level indicators are showing full tanks but that's because the wires to the senders have not yet been connected. The T&B is coming out, it didn't work when we tried it.
If you have Quicktime you can view two short movies I made, one of the engine spooling up and the other with the engine running...
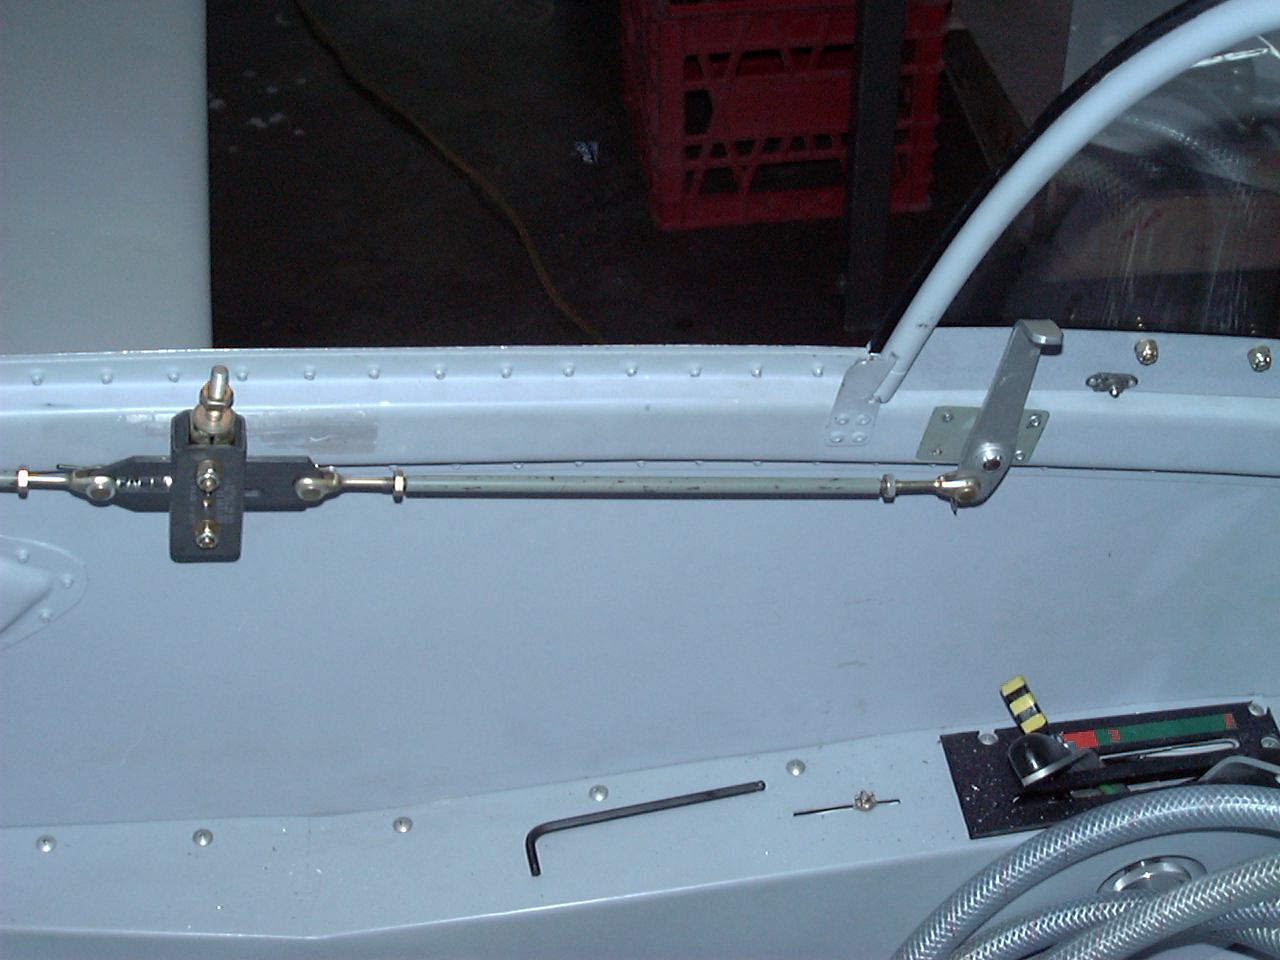
The above three images show the results of the installation of the Hartwell latch system as sold by BD Micro Technologies. Other than a couple of glitches in the instructions which were easily resolved with a phone call, everything worked and came together as advertised. At this point the latches and control handle are in but the adjustments have not been made and the latch pins have not been installed on the canopy bow. Also, the canopy arms have not been replaced with ones that have the jog necessary to accomodate the latches.
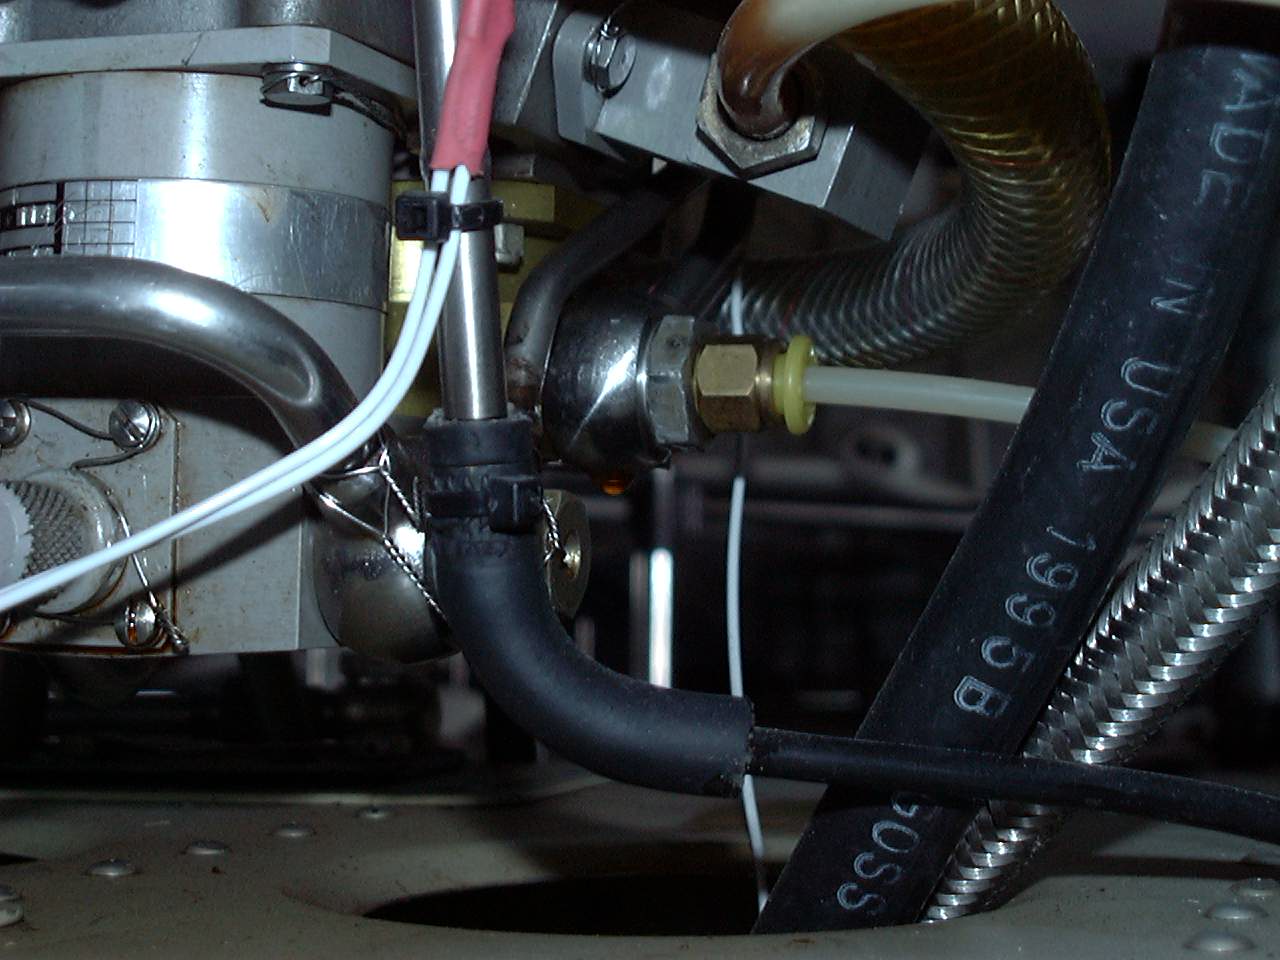
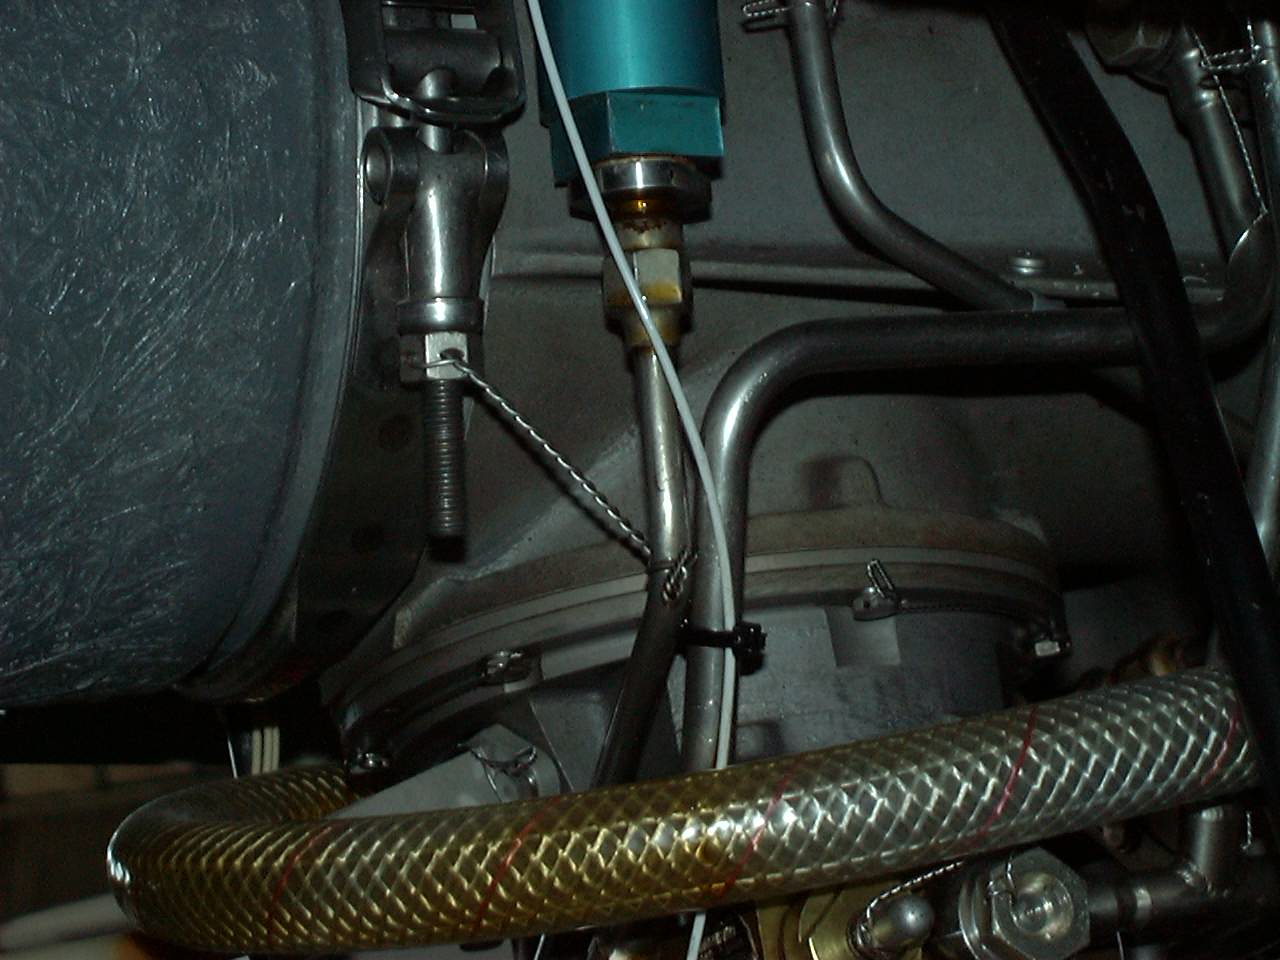

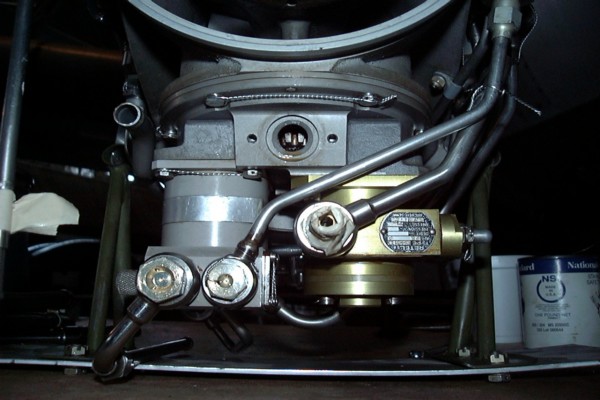
These three engine pics show a couple of problems I ran into. An oil leak and a fuel leak. The first and third pic shows the location of the fuel leak, a takeoff point for fuel pressure. The flare nut is incorrect for this application, and the inside of the banjo fitting was damaged. so the whole thing has to be replaced. The middle picture shows the location of the oil leak, a loose fitting. And yes, that safety wire is installed incorrectly, it was already changed.
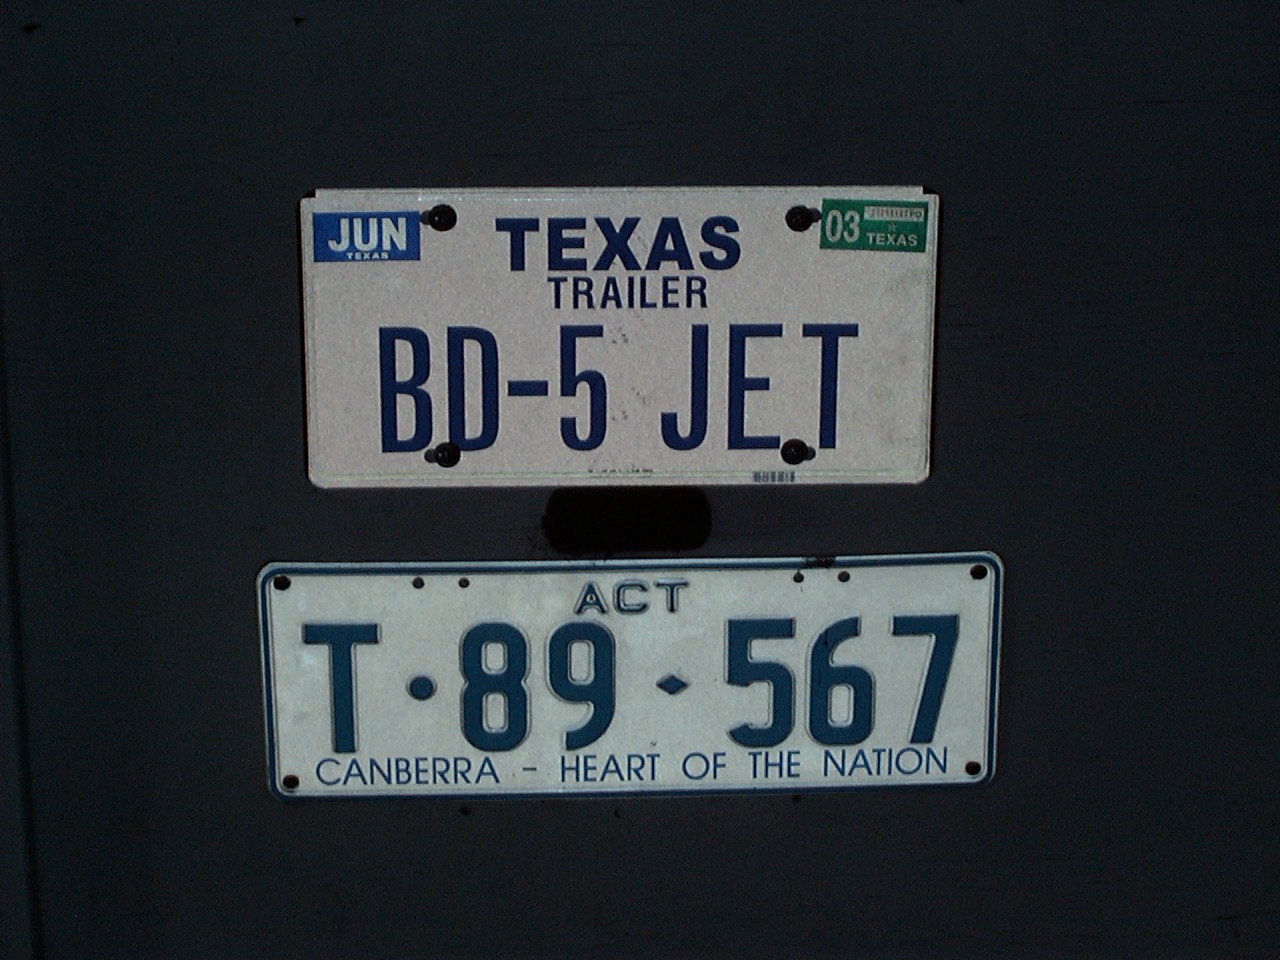
Yup, got myself a personalized trailer plate. The one below is the original plate from Australia.
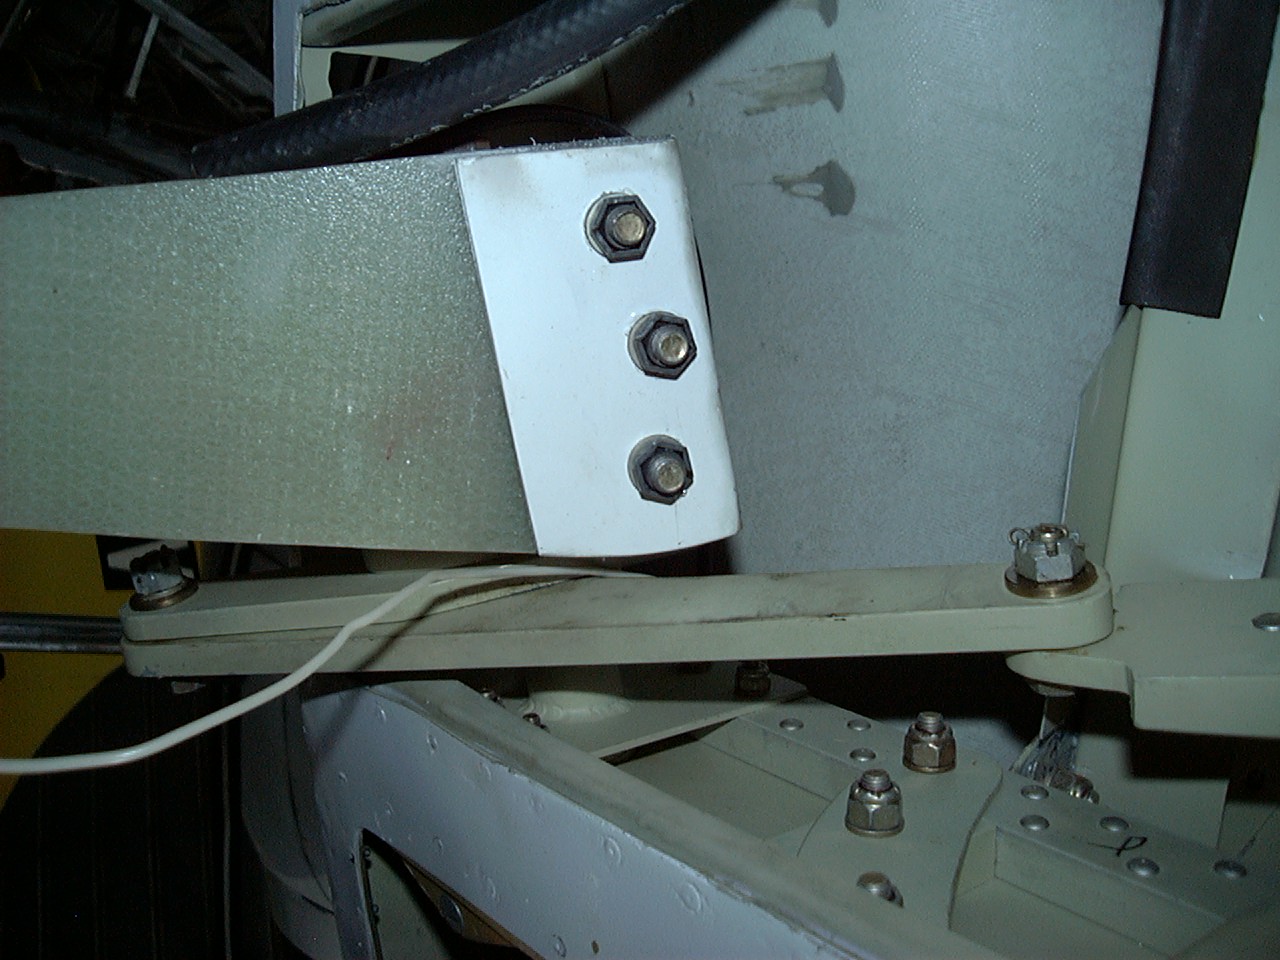
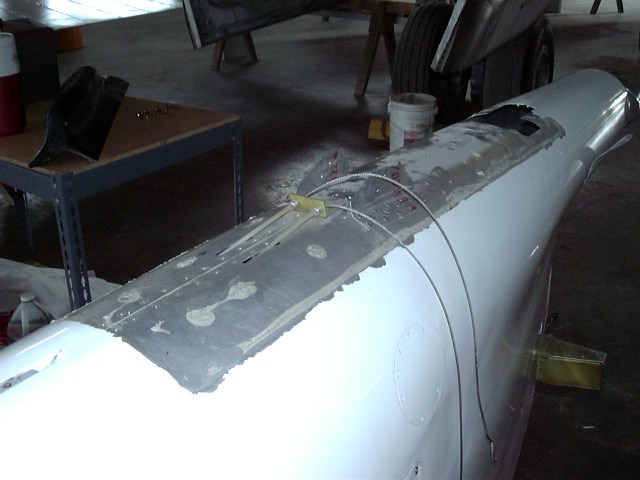
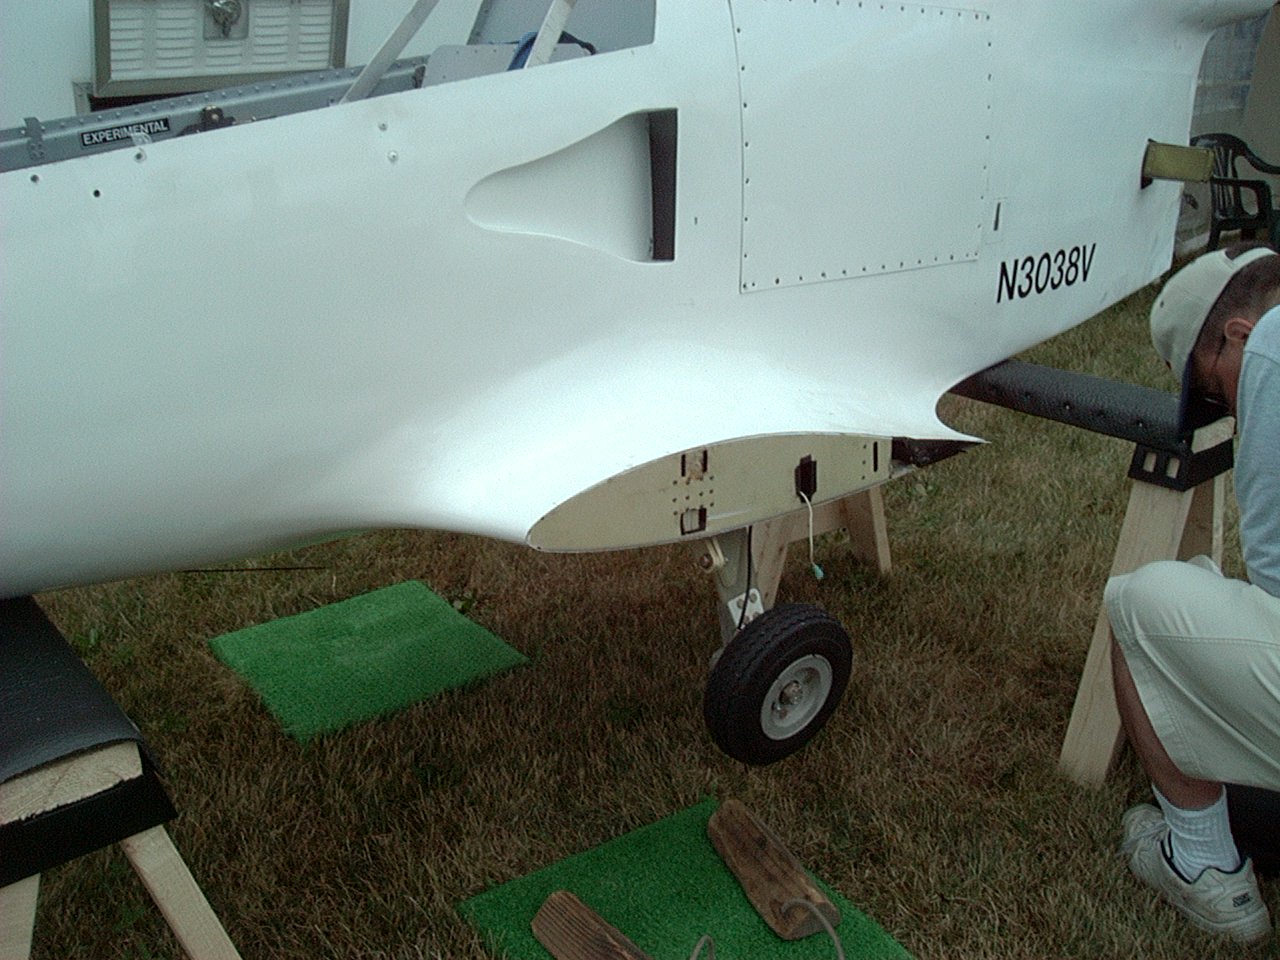
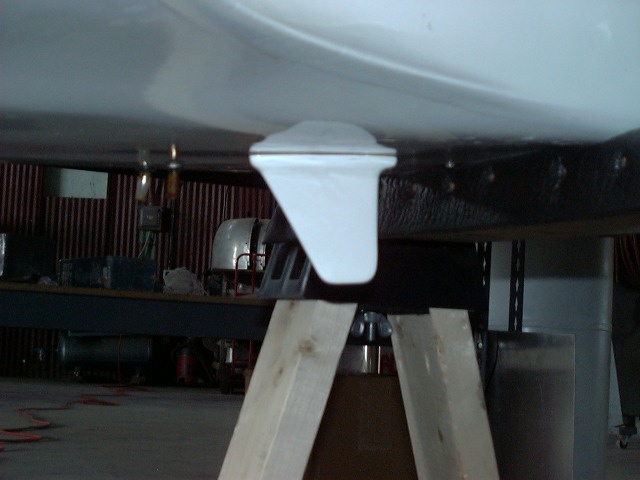
These pictures show details of the installation of the solid spar. I'm sorry about the angles and lighting, but photographing under a BD-5 is not exactly a piece of cake when you don't have a way to get it up about four feet off the ground.
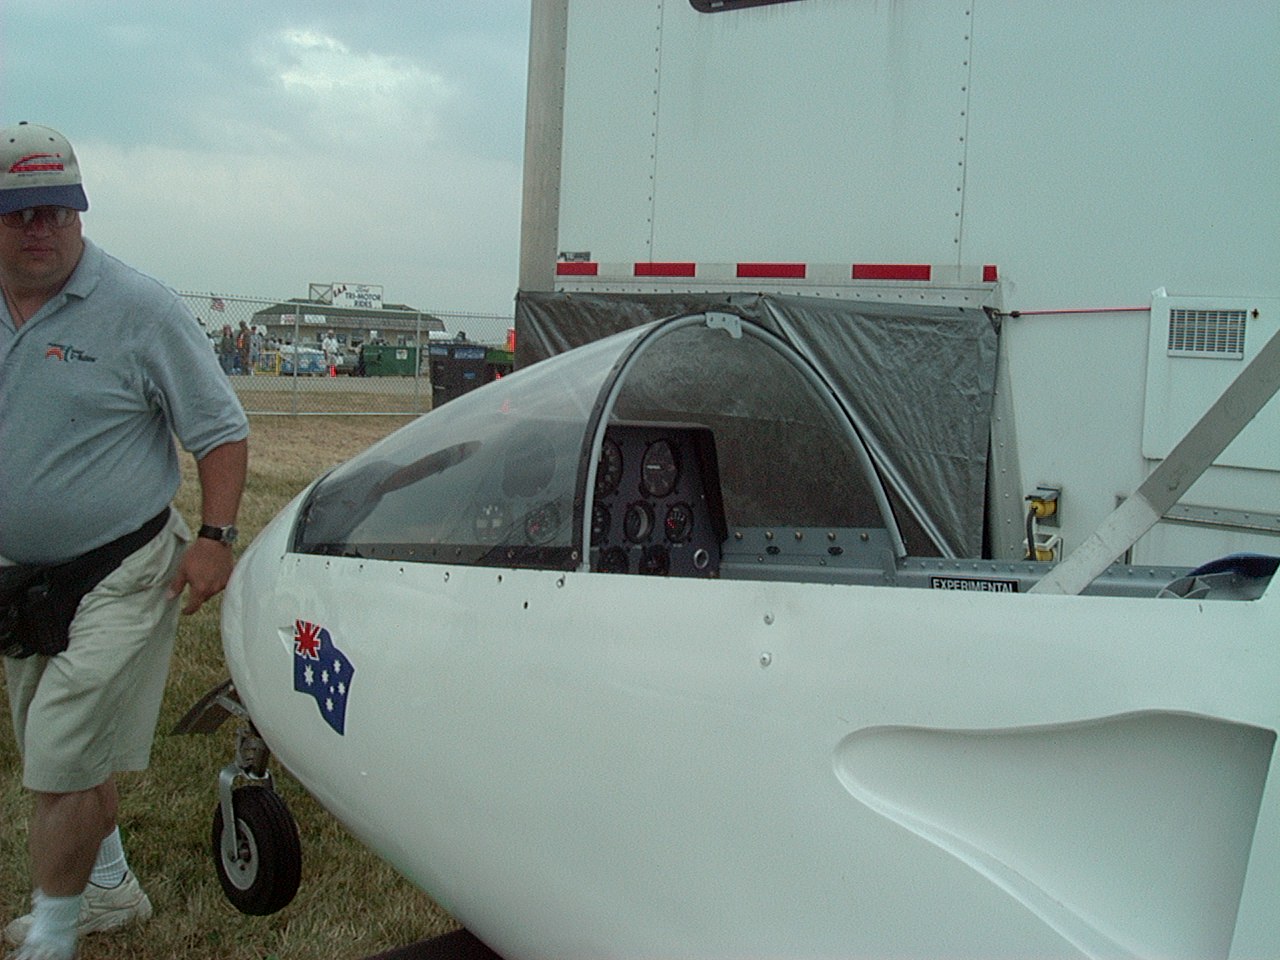
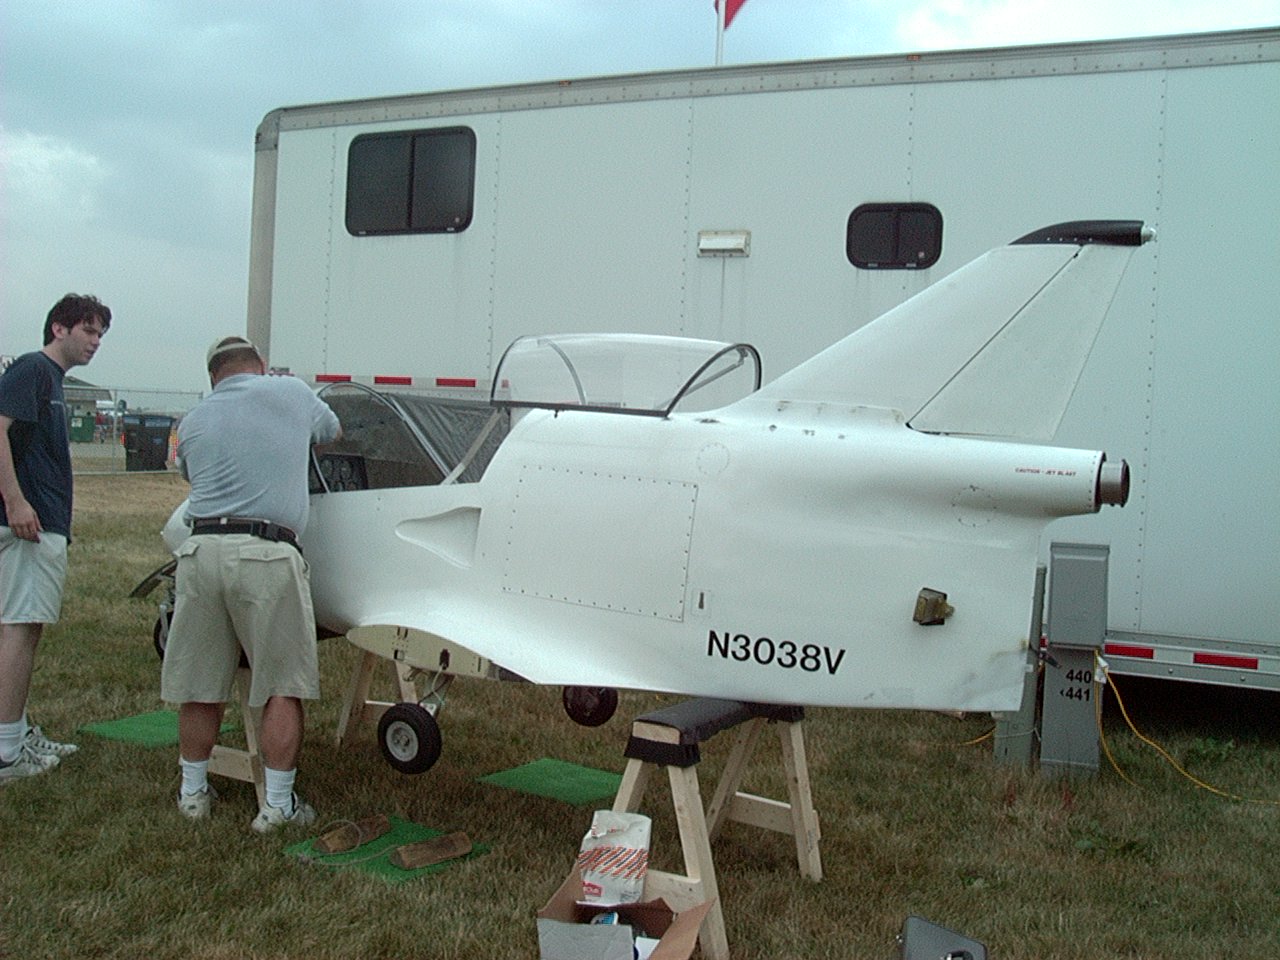
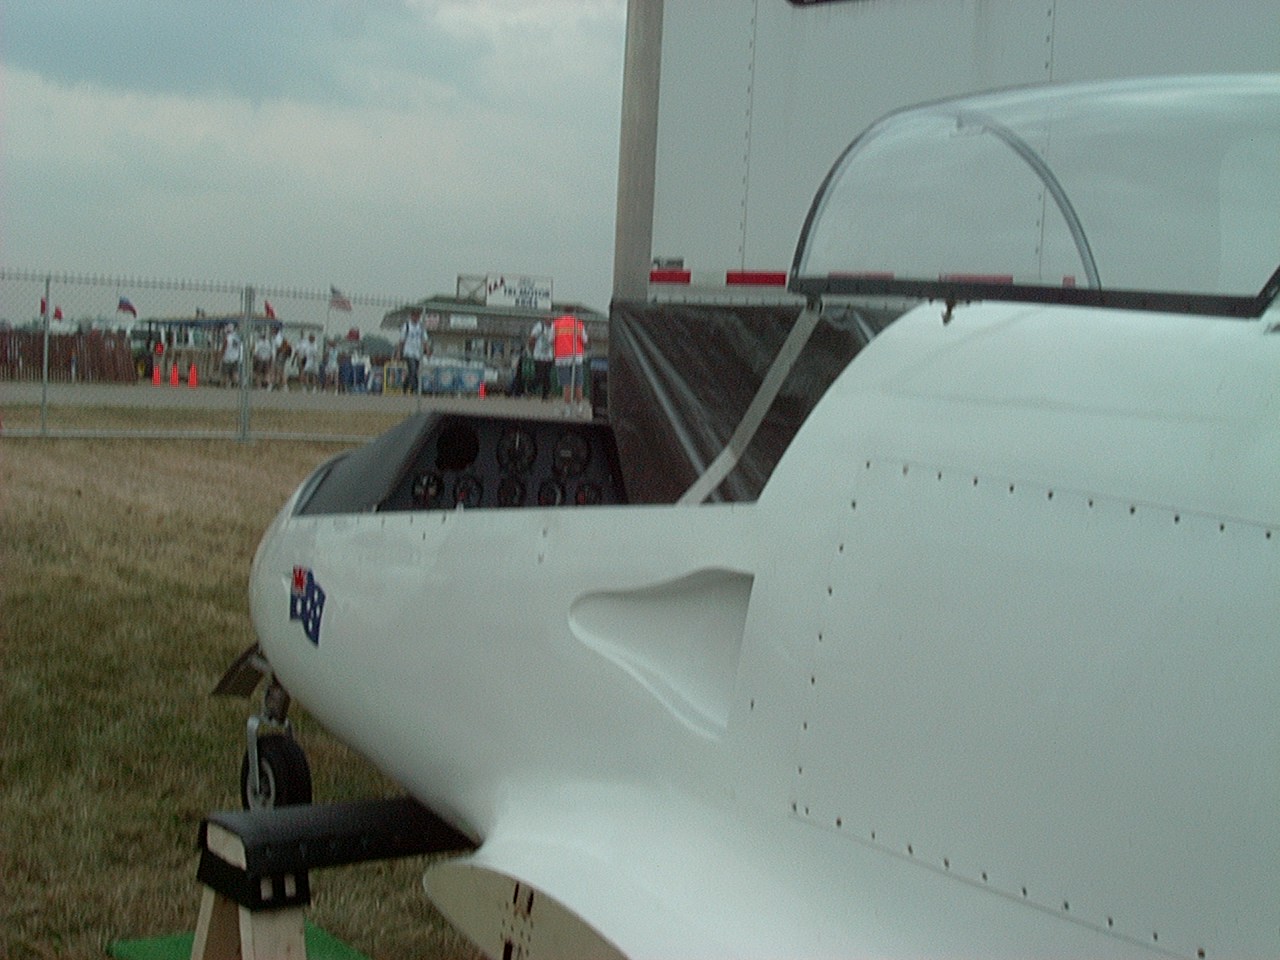
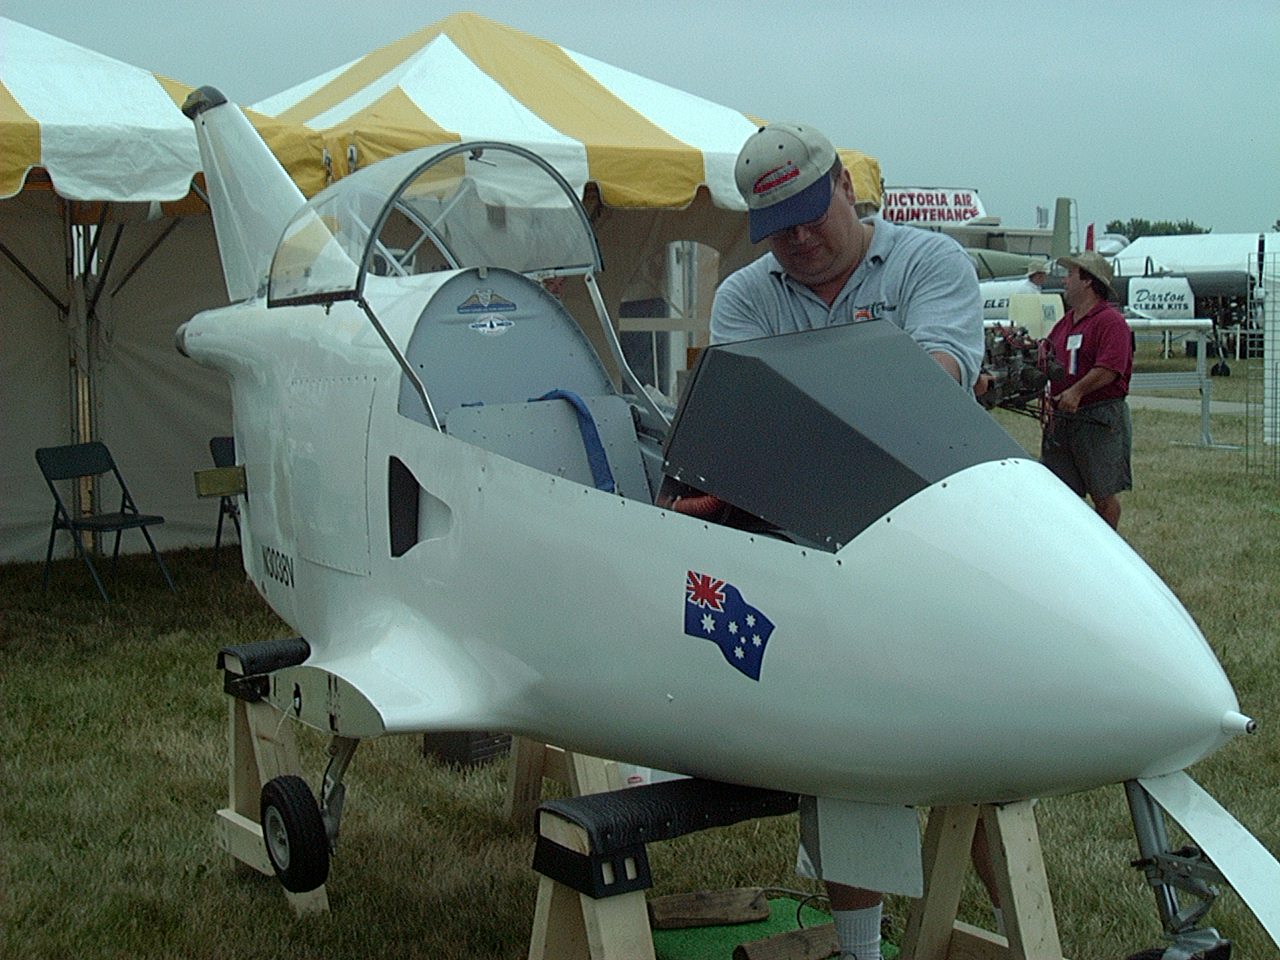
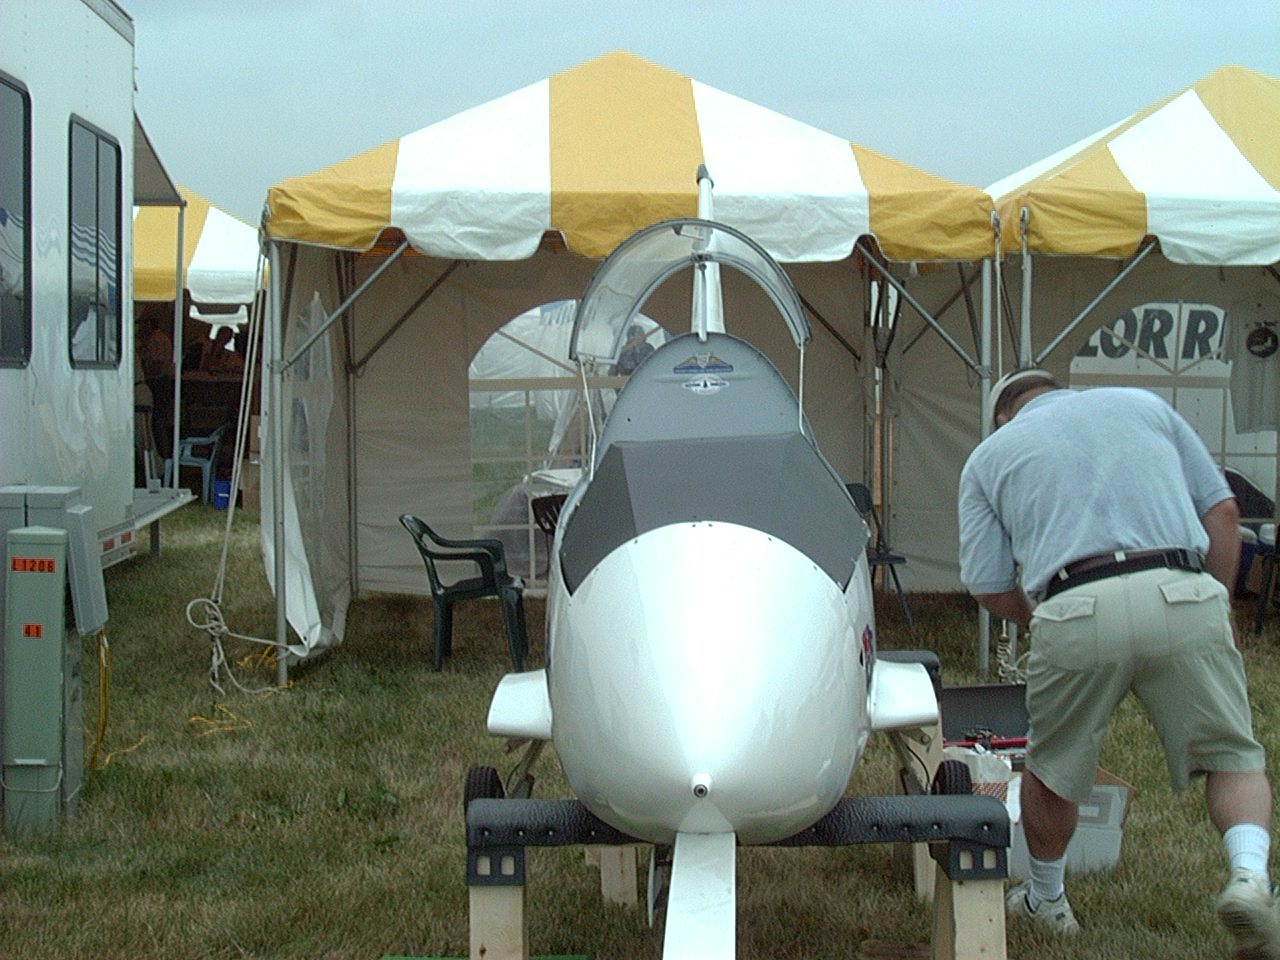
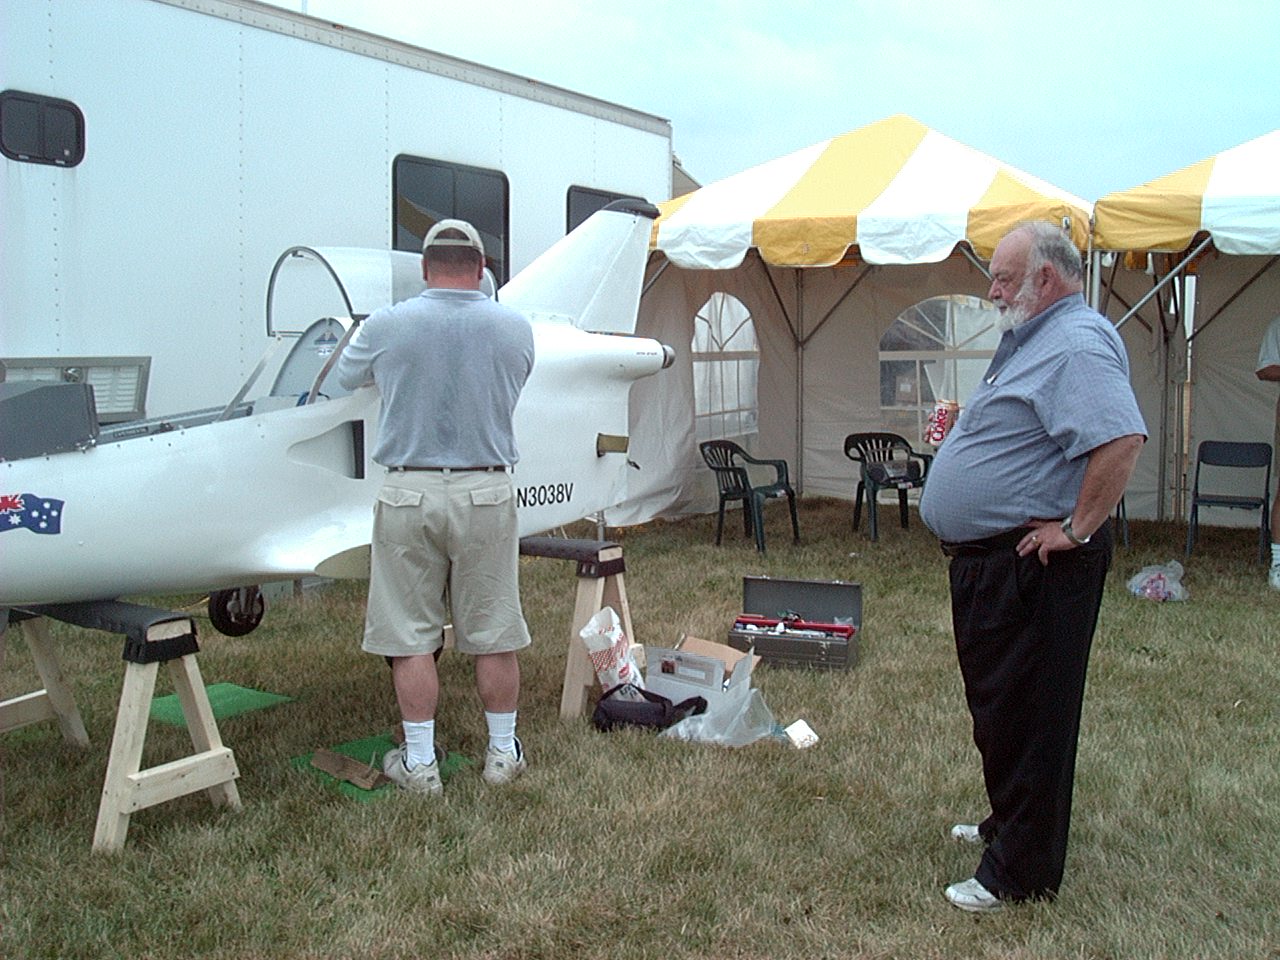
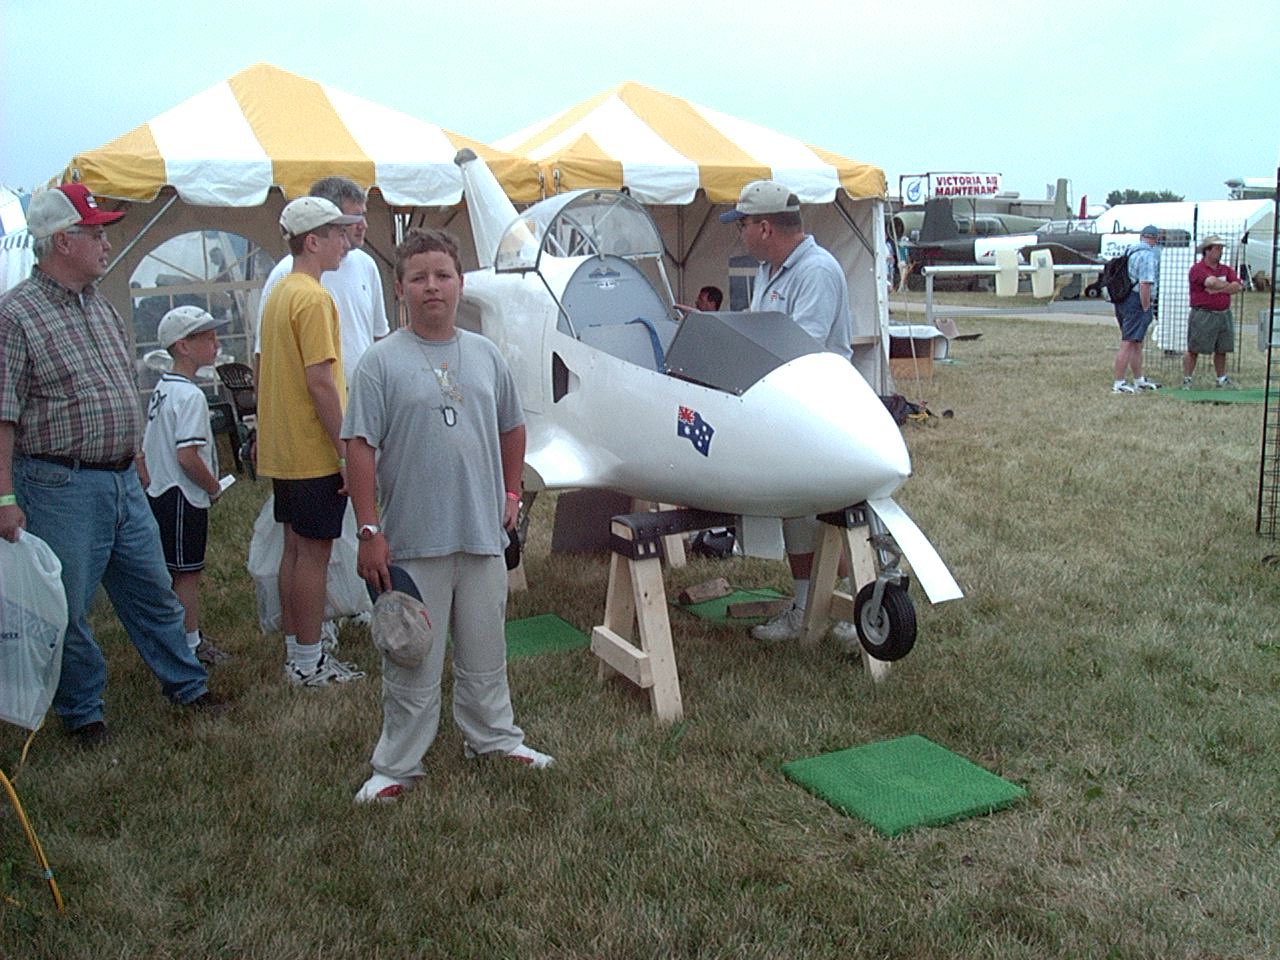
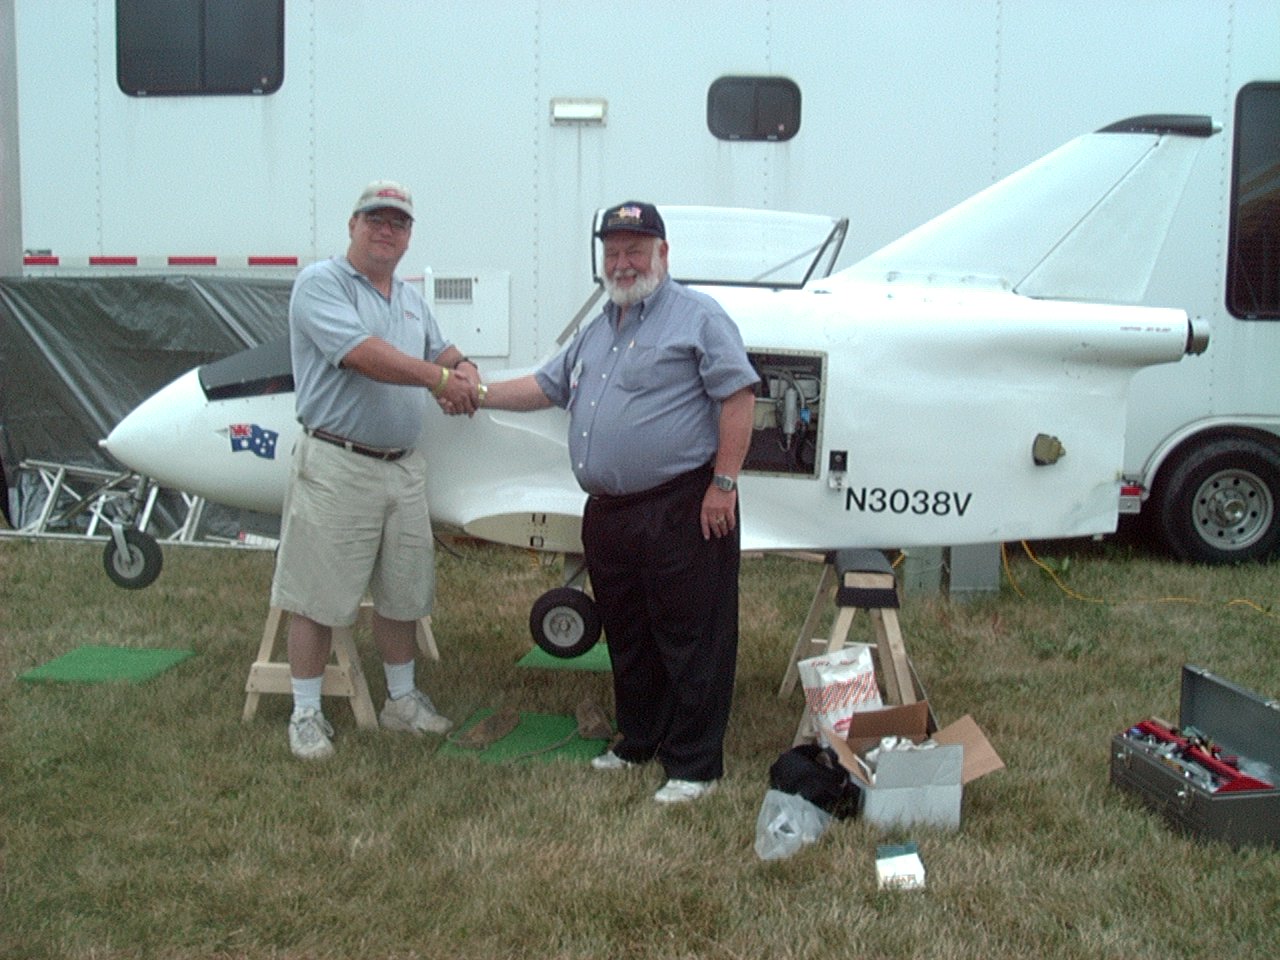
Oshkosh Pictures! I trailered the Pocket Rocket to OSH 2002, and it spent the majority of the time parked next to the Aero-News Network trailer in the Press Mall. However, for one day I brought it out to the BedeCorp booth, where they were showing their new BD-17. We drew quite a crowd as people came over to look at Bede's two designs. These pictures were taken by my son, Gustavo. He did a pretty good job!
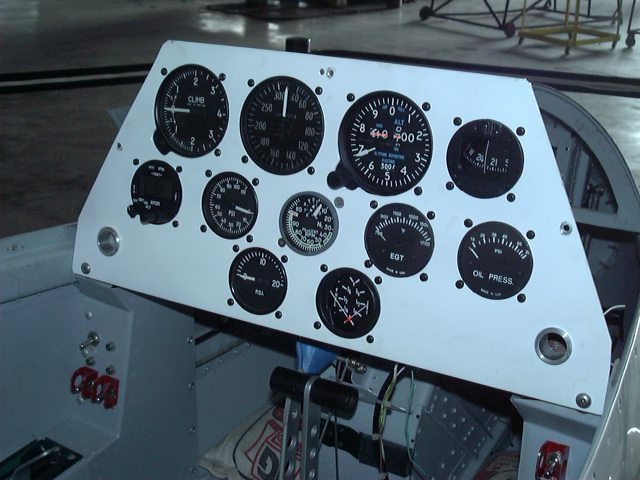

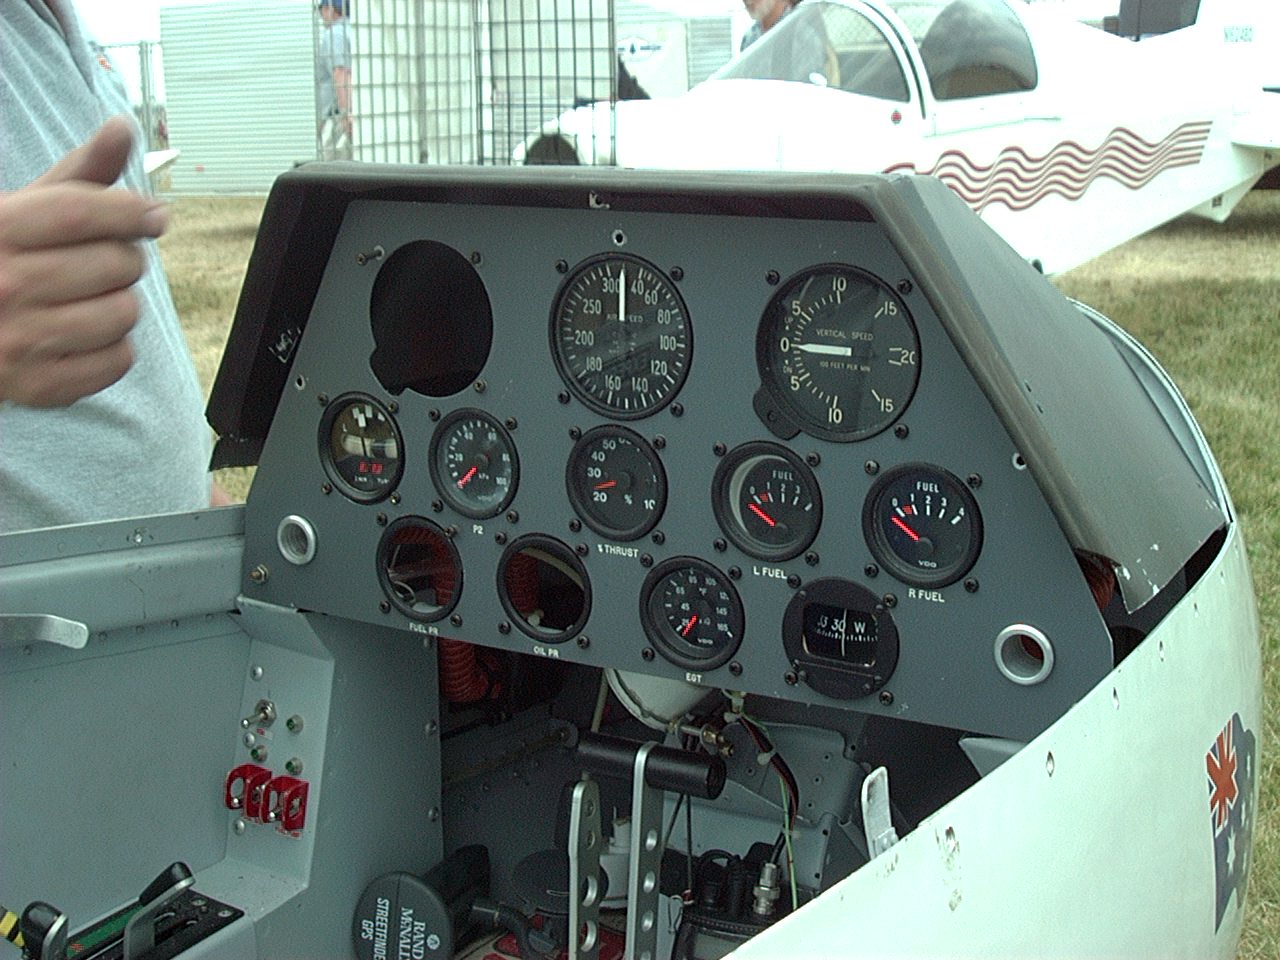
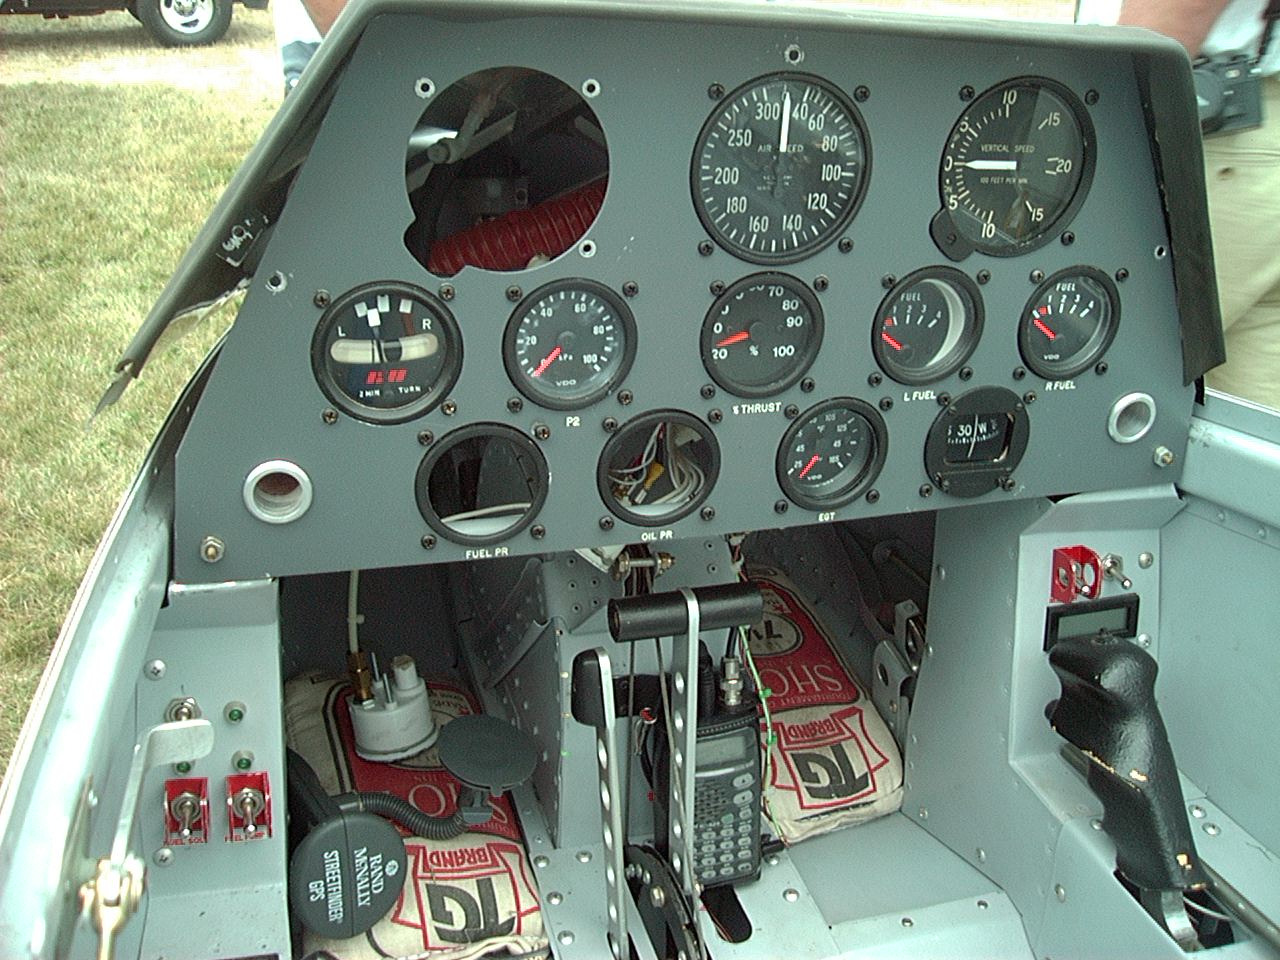
The instrument panel has been redesigned and all the new instruments and the Becker transponder have been installed. For the transponder, a Comant CI-105 antenna was installed on the belly, with the connector coming into the engine compartment. Yes, the mag compass is tilted. I have to fix that, the right side of the panel needs to be dropped some.


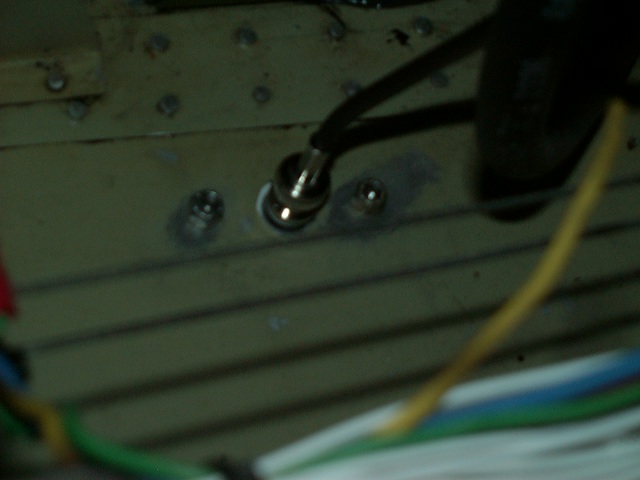
These three pictures are hard to see, but what I am trying to show is the shims I had to install on each of the lower bearing blocks in order to get the nosegear strut to stay centered and not be able to move to the left or right.
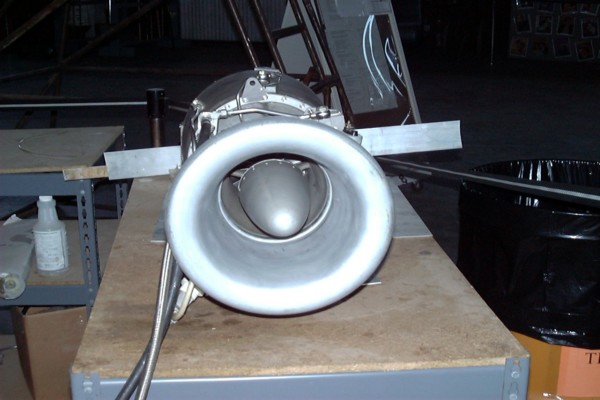

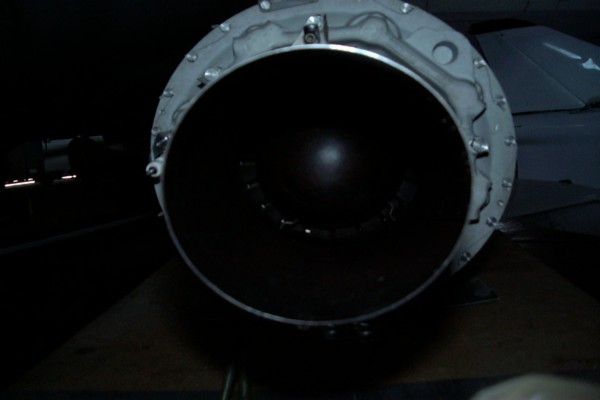
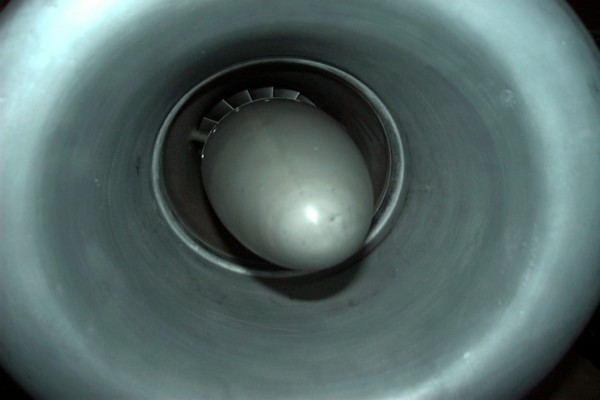
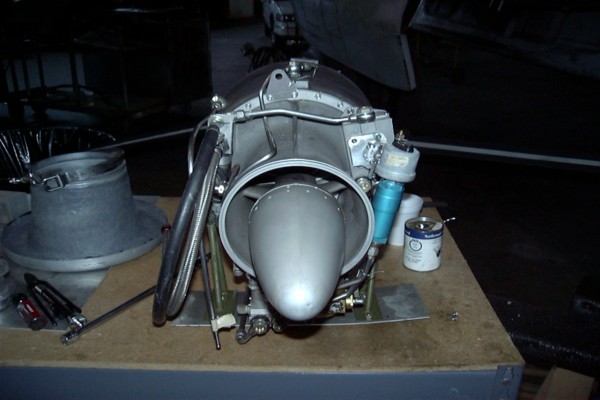
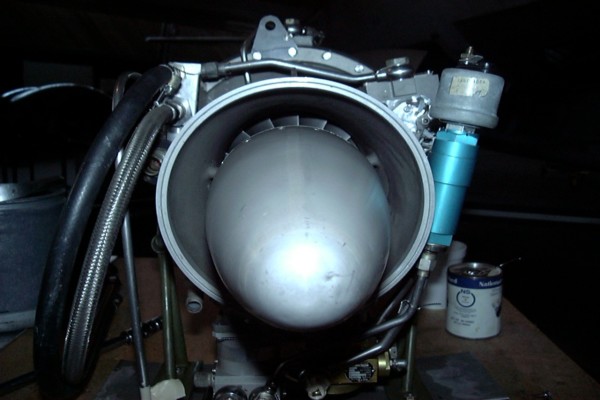
In February I decided to pull the engine and deal with the issues that were keeping the engine installation package from being completed, as well as tracking down a couple of slippery leaks. I finally figured out the frequency of the output of the magnetic pickup that functions as an RPM sender -- 8 pulses, 6 volts peak to peak, per engine revolution. The signal is generated by the teeth of the fuel and oil pump accessory drive. I took advantage of the opportunity to take detailed pictures of the only 022 Couguar engine in private hands in the world. I also found out the correct serial number of the engine, S/N 114.
All images Copyright © 2002 by Juan Jiménez, All Rights Reserved, Commercial use strictly prohibited without express written permission. Non-commercial use encouraged with appropriate credit.